Making the silicone mould yourself
Making a silicone mould yourself is not difficult at all! You want to build the right silicone mould for your epoxy resin project? No problem – with just a few tools and in a short time you can build your individual silicone mould with our instructions. You can either use a finished work piece as a template or build a frame in the required dimensions. In this article you will learn how to make a silicone mould yourself step by step, so that you can use it for your own purposes.
Accessories for building a silicone mould
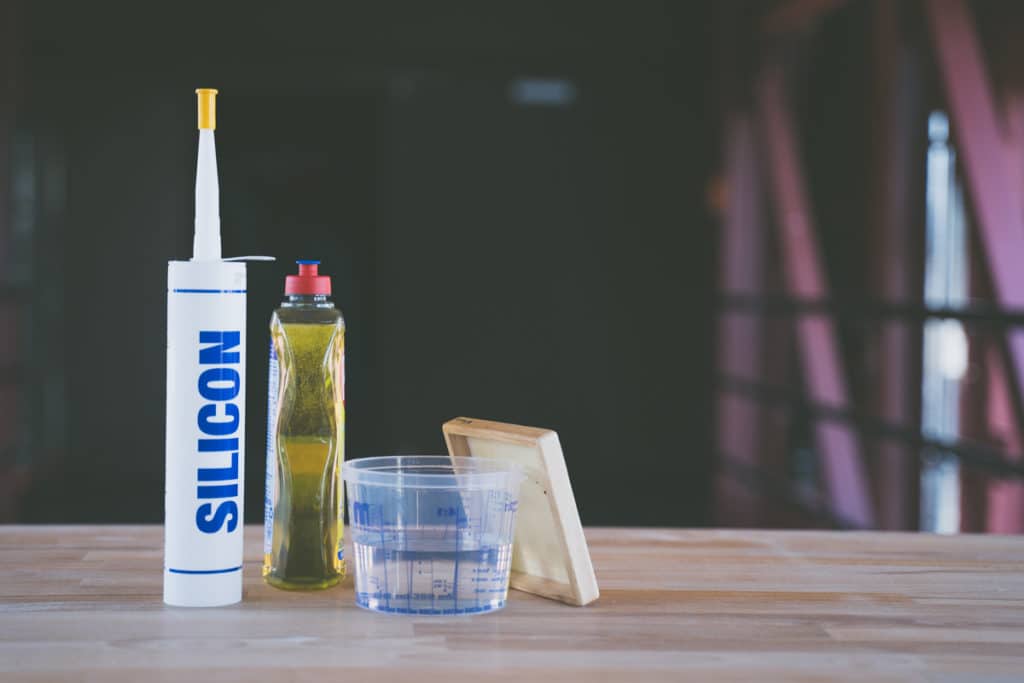
Everything you need for the construction of your silicone mould, you can get cheaply at the hardware store and drugstore.
You need:
- water
- dish soap
- bucket
- white silicone
- cartridge press
- gloves
- the workpiece, which is the template for the silicone mould
- alternatively: wooden strips for a mould in the desired dimensions
- optional: a cutter and adhesive tape
Making a silicone mould yourself – Instructions
After you have prepared everything you need, you can start building your silicone mould. Wear gloves while making the mould.
Step 1: Mix release agent together
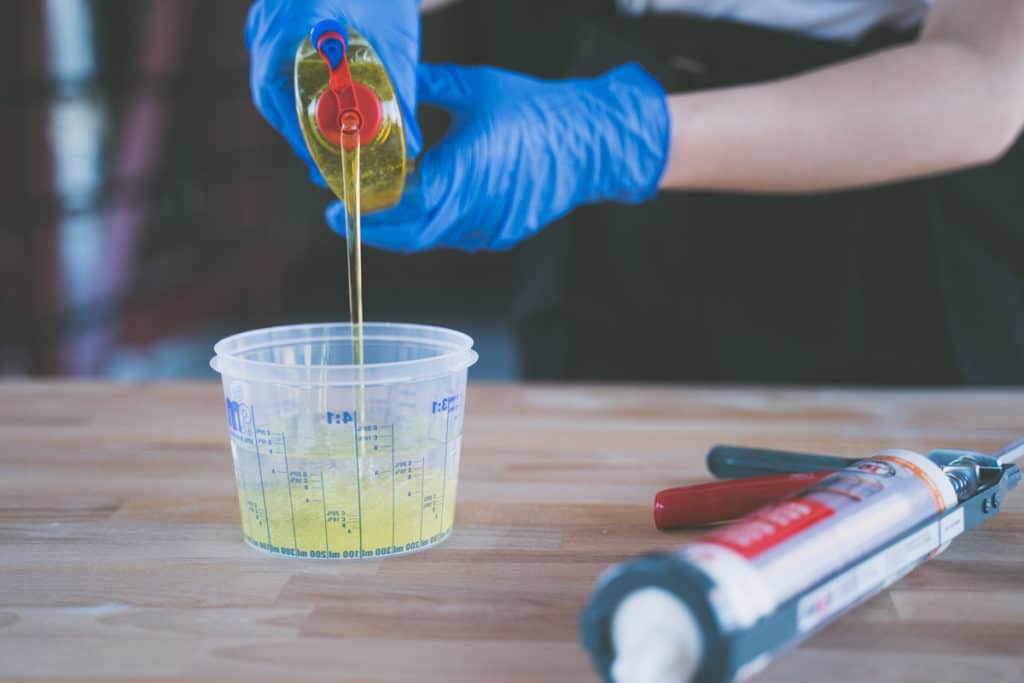
To make it easy to shape and model the silicone, mix 1 part of dishwashing soap with 4 parts of water in a bucket to form a highly concentrated soapy water. This soap water is a reliable release agent due to the high glycerine content, in which you can form the silicone dimensions without the mass sticking.
Step 2: Add silicone to the soapy water
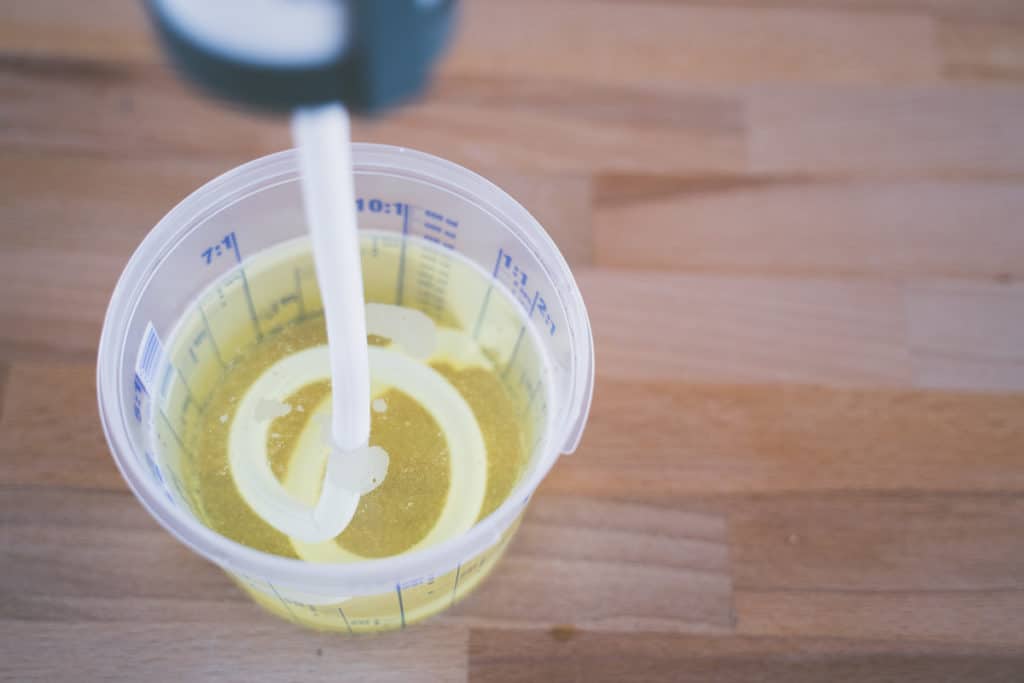
Open the cap of the silicone and put the cartridge into the press. Now carefully press as much silicone into the soap bath as you need for a first coating layer of your mould.
Step 3: Press on the base layer
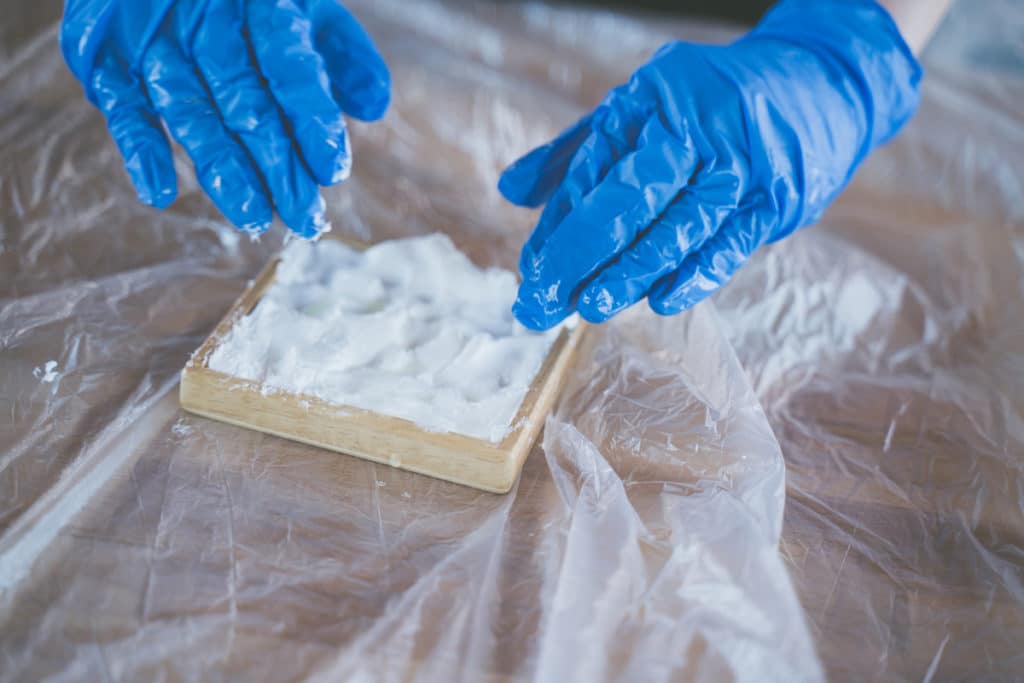
Knead the silicone in the soapy water with your hands until you get a well formable, but not too solid mass. When this condition is reached, press a first layer of silicone on the original. This first layer serves to prevent holes from forming and to make the mould as accurate and tight as possible. Therefore be very conscientious when pressing and make sure that every spot is covered.
Step 4: Making the mould
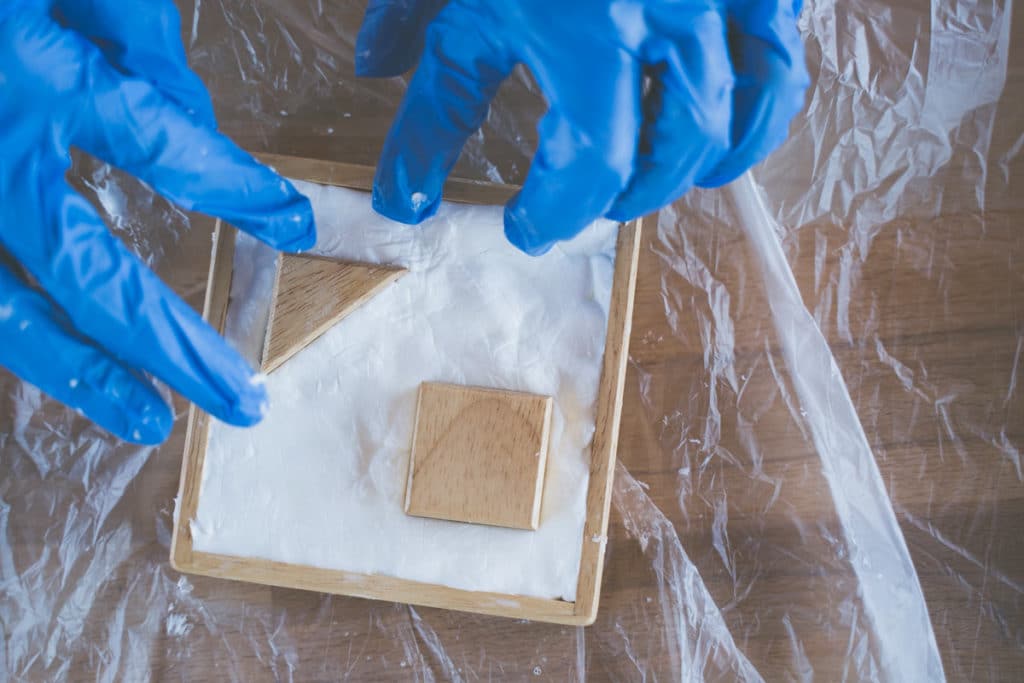
Now proceed with the main layer of silicone in the same way as in the second step. So put the rest of the needed silicone in the soapy water and knead the mass well. When the perfect consistency is reached, take the silicone out of the water and spread the mass accurately on your original work piece. This second layer should be much thicker than the first one, because it ensures that the form holds well and doesn’t crack.
Step 5: Let the silicone cure
After an hour, your silicone mold will be solid. In any case, leave the original object in the mould at least that long. As soon as your silicone mould no longer sticks and has solidified, you can remove the original. If your original was not completely covered by silicone, you can remove the mould and use it as a whole. If you have to cut out your original, remember that you have to glue the gaps cleanly so that no material will leak when using the mould. Use a very strong adhesive tape and check before the first casting whether the mould is really tight or needs to be repaired.
Step 6: Use silicone mould
After curing you can remove the template. Now you can use your silicone mould as a casting mould. The mould can be used over and over again if handled properly.
