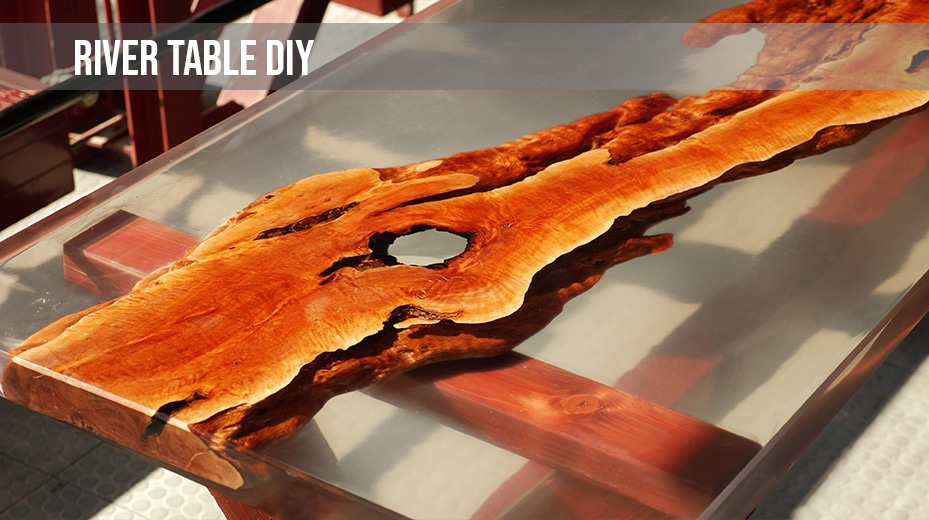
Pour a Rivertable - how to make a rivertable Step-by-Step
The epoxy resin table is also known as rivertable. Building it yourself is not as hard as you might think. In today’s article we explain in detail how you can make your dream of your own unique Rivertable come true. Our step-by-step guide will take you through all the steps, from the materials needed to the final sealant of your epoxy table. All you need is a your craftsmanship and accessories.
You need:
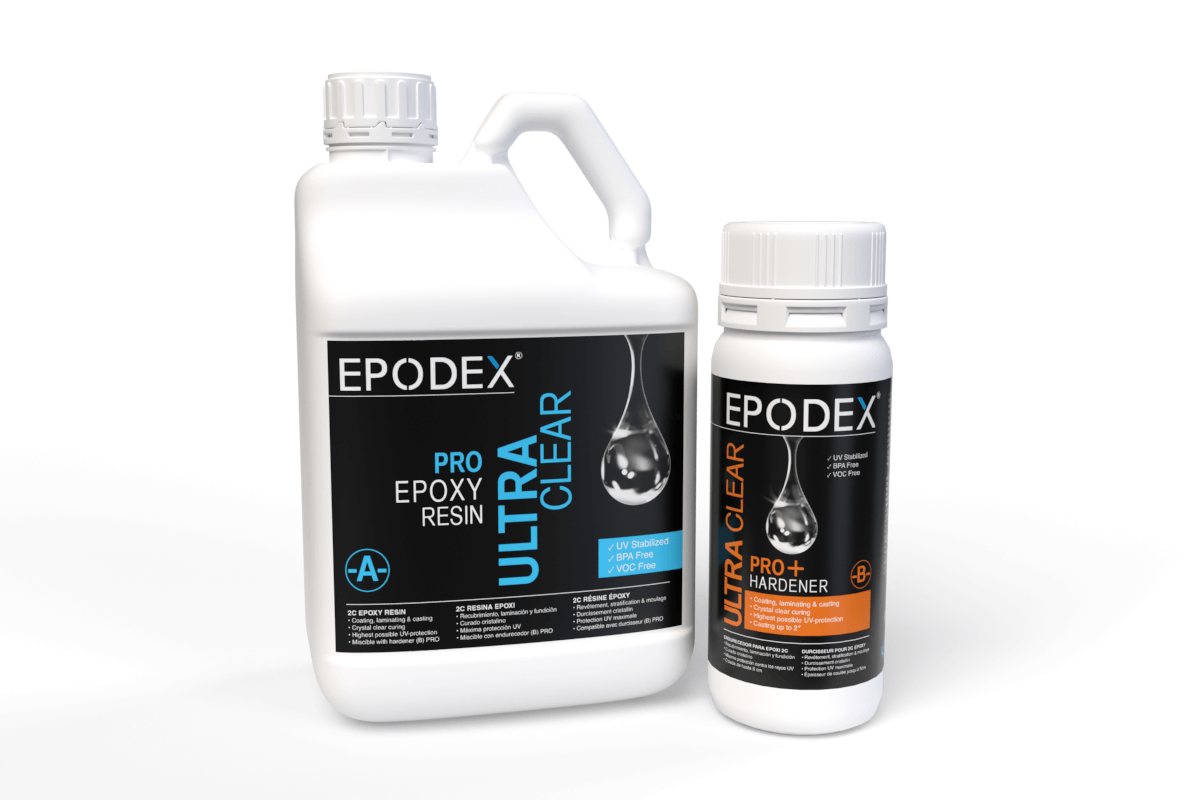
- EPODEX PRO+ epoxy resin system
- Optional dyes or pigments
- 2 wooden planks in the same height
- EPODEX Epoxy resin separating tape
- EPODEX Separating agent spray
- Frame strips and underbody of wood or polypropylene
- Sanitary silicone
- Screws
- Screwdriver
- Folding rule
- Spirit level
- Scissors
- Dust-free clothes or a kitchen roll
- Gram scale (kitchen scales)
- Mixing cup
- Stir stick
- Brushes
- Nitrile gloves
- Fine dust mask
- Sander (alternatively: sandpaper and sanding block)
- Polishing attachment for the sander
- EPODEX Polish paste
- Casting System, Ideal for Crystal-Clear and Coloured Castings
- Application: Casting and Laminating
- Layer thickness: 0,1-5cm
- Crystal clear, UV stabilised, VOC- and BPA-free
- Use: River Tables, Large Moulded and Decorative Objects, etc.
Step 1: Preparation
Have all materials and tools ready and make sure that the epoxy resin is at room temperature and also that the environment in which you are working is clean and the temperature is around 20°C.
Step 2: Build the mould
You start by making a mould in the desired dimensions of the epoxy resin table. For this you need four smooth wooden strips and a wooden plate as moulded parts. Then you stick the tape on all parts. Make sure that the tape does not overlap. Glue silicone on the edges of the mouldings and screw the parts together. Let the silicone cure. Then spray the mould evenly with our release agent spray and spread it with a cloth. Then place the wooden planks of the same height in the mould.
Step 3: Priming
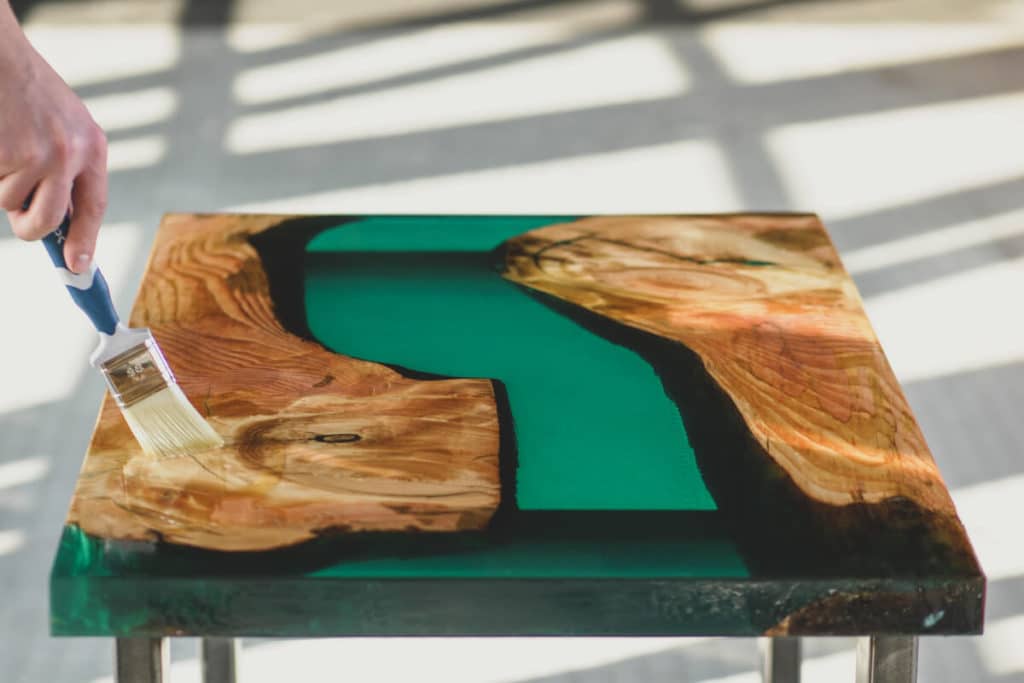
Before you start pouring, you should brush the areas of your wooden planks that come into contact with the resin with a thin layer of epoxy resin.
This prevents loss of material and the formation of bubbles. You can use both the EPODEX Pro system and the Pro+ system for the primer layer. The Pro system has the advantage that it hardens faster. You can calculate which quantities you need with our quantity calculator. You can find it on every product page. For the primer layer we recommend a layer thickness of 0.2cm. Weigh the resin and hardener in the correct ratio and mix the components with a stirrer. Then apply the primer layer laterally to the inner sides of the wooden planks with a brush. Pour the rest of the primer onto the substrate between the wooden planks. Here too, the layer thickness should be 0.2-0.3cm. This prevents air chambers and bubbles. Allow the primer layer to harden.
Step 4: Pouring
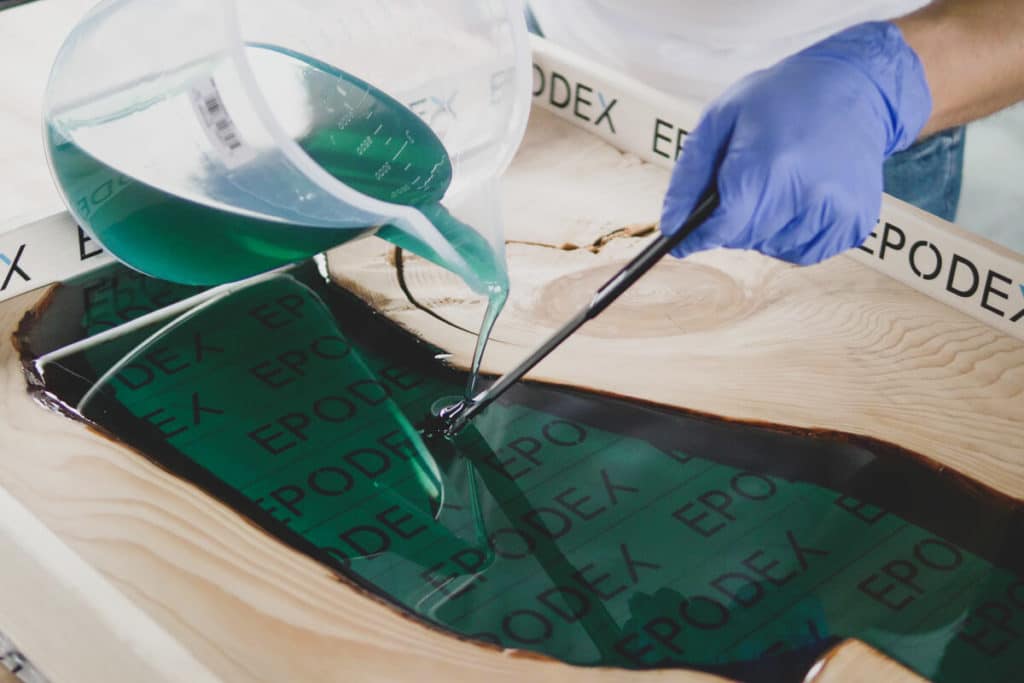
Once the primer has hardened, you can mix the epoxy resin for the main pouring. For this you need our Pro+ epoxy resin. Now you can mix in the paints or pigments in addition to the resin and hardener. You can control the intensity by adding more or less colour pigment. Mix the resin, hardener and pigments exactly as specified and pour the mixture in a maximum layer height of 5cm over a stirring rod between the wooden planks. Allow the resin to cure completely in the mould.
Step 5: Sealing and Polishing
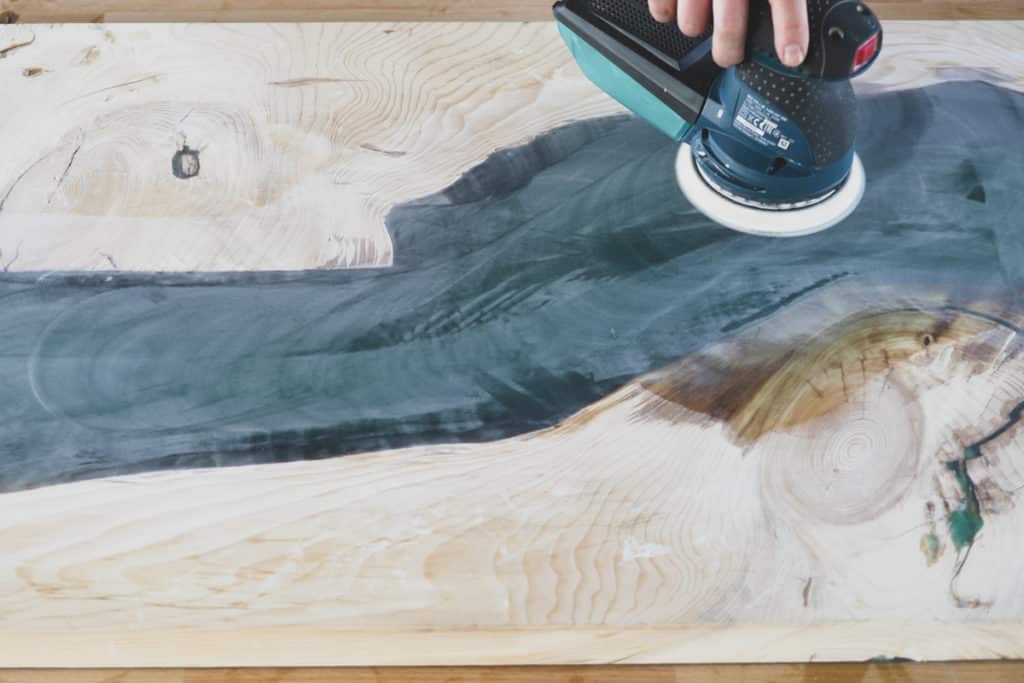
Remove the mould by unscrewing all the screws and cutting through the silicone with a cutter. Then knock out all mould parts with a hammer. Now you can sand, polish and seal the table top. You will need either a polishing machine, such as a random orbital sander with the appropriate attachments, or a sanding block and wet sandpaper and some water. You will also need a polishing paste. Put on the fine dust mask and start sanding from the coarsest to the finest grain. If you work with wet sandpaper, remember to water it from time to time. When you are finished with the 3000 grit, wipe the table once. Now you can continue with the polishing. Apply the polishing paste to the machine attachment or a wipe. Polish the surface with little pressure in circular movements. When the desired gloss level is reached, you are finished. Now screw on the table legs. As a final sealant you can now apply oil, varnish or wax as a sealant. If you want an even more durable surface, we recommend applying a layer of polyurethane resin. Let the sealant cure before using the epoxy table for the first time.
