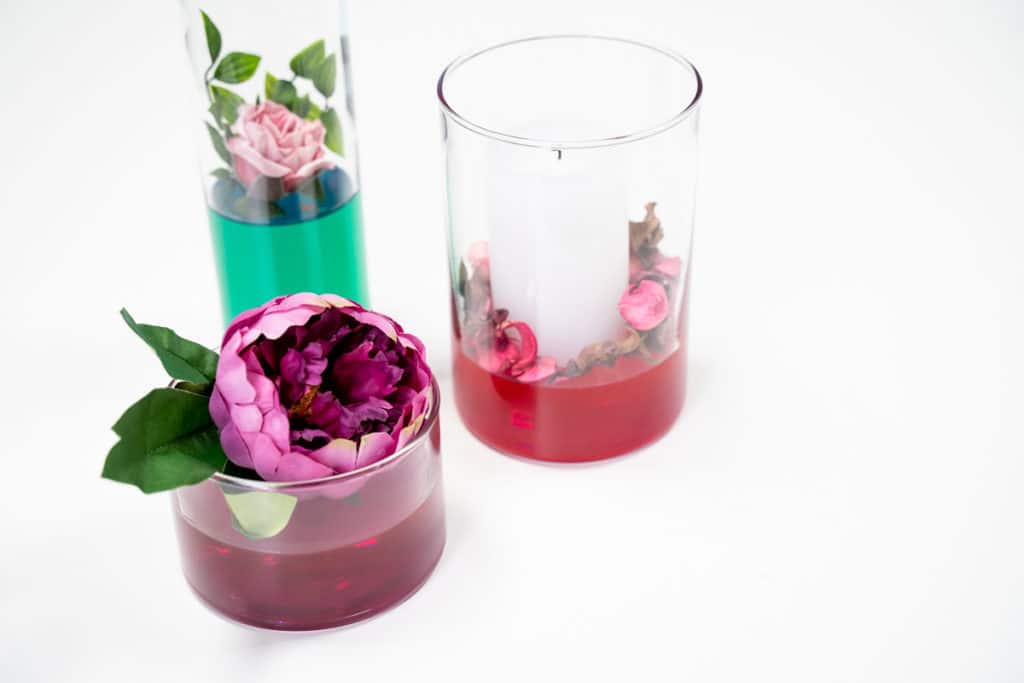
Epoxy resin vases can be hand made in a short amount of time. They can be modified according to your wishes with unmaginable objects. From beginners to advanced users, this project is a great way to get creative. An epoxy resin vase is the ultimate gift for Mother´s Day.
This step-by-step guide will teach you how to make one-of-a-kind decorative resin vases with EPODEX products.
What You Need:
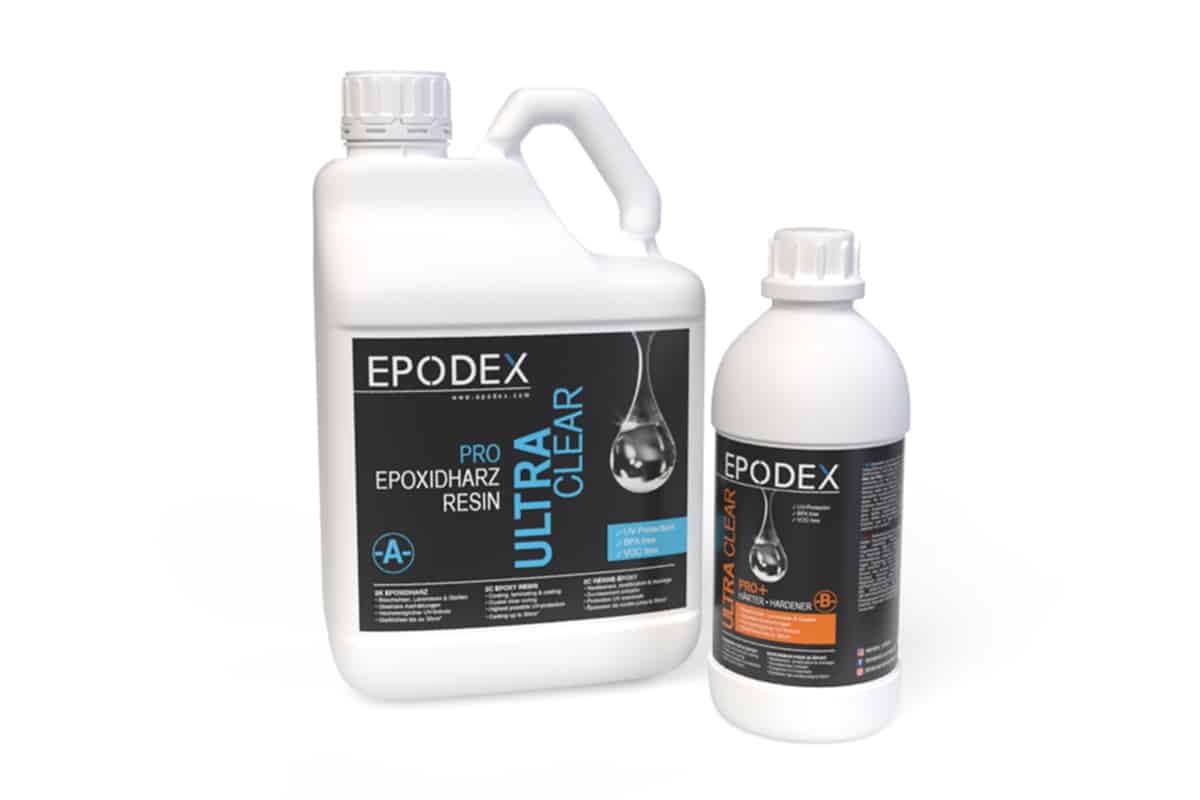
- EPODEX PRO+ System
- 1 large & 3 small Mixing Cups
- Glass Vase Set (3 different sizes)
- Dried flowers, candle, potpourri
- Nitrile Gloves
- Kitchen Scale
- Stir Stick
- Various EPODEX Drop-In Colour Pigments of your choice

How-To Create Decorative Resin Vases
Preparation
Have all materials ready. Note that you should work at room temperature and the humidity should not exceed 70%. All materials and tools should also be at room temperature.
Step 1
Put the disposable gloves on and mix our EPODEX PRO+ System according to the instructions in a ratio of 2:1. Stir well until there are no visible streaks.
Step 2
Pour the finished resin into three separate containers, for example mixing cups. Thoroughly stir the resin again after repotting.
Step 3
The three clear epoxy resin mixtures can now be combined with the transparent drop-ins. You can freely decide how many drops you want to add according to the desired colour intensity. Stir the drop-ins evenly into the epoxy resin with a stir stick.
Step 4
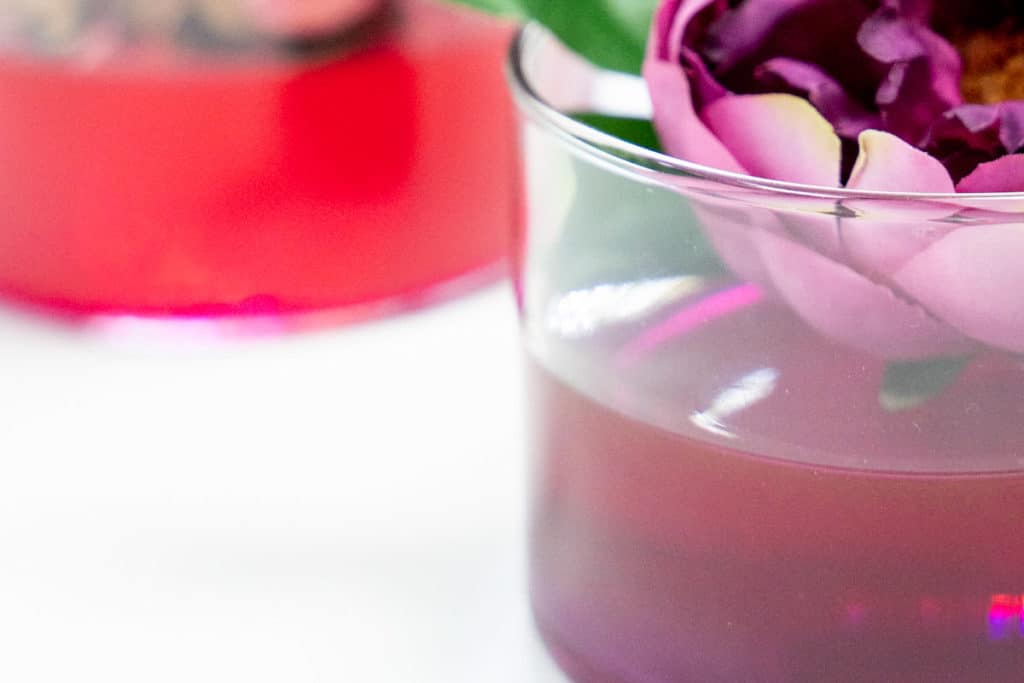
When everything is thoroughly mixed pour the coloured resin into the vases. Avoid letting the resin run to the edge of the vase, as it is very difficult to remove. If something does run to the edge of the tall vase dip a cotton swab in acetone-based nail polish remover or pure acetone and carefully wipe away the resin stains.
Step 5
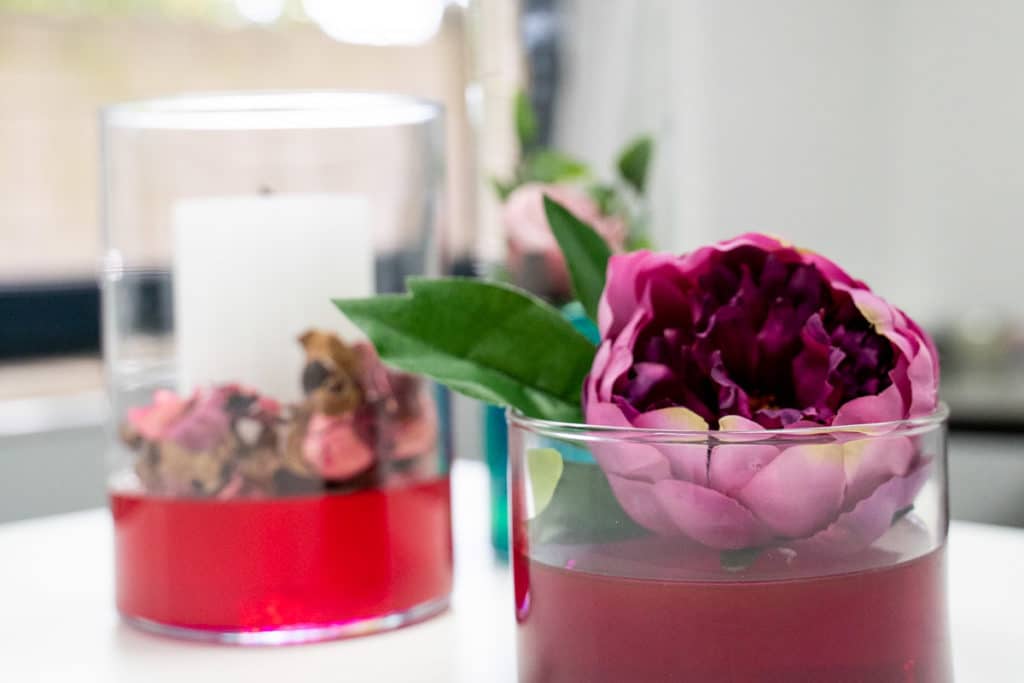
After 24 hours, the surface has hardened sufficiently for you to start decorating. There are no limits to your imagination. For example, you can use flowers, candles, potpourri or scattered decorations. After 7 days the epoxy resin is completely hardened and can also be filled with water.
Tip: If you prefer a more colourful result, you can pour several thinner layers with the PRO System up to 2 cm and achieve a colour gradient by adding 3 drops of one colour in the first layer, 2 in the second, and 1 in the third. Then work wet-on-wet, which means not waiting the 12 hours until the next layer, but only 4-6 hours to make a more beautiful and flowing transition.


