A homemade mobile is suitable as room decoration or as a gift for children and adults. The design and colour scheme can be completely customised according to your wishes. It is even possible to pour in small objects, glitter or flowers. No matter what the occasion or season – with this unique gift idea you will always be on the right track!
What You Need
- ECO system for coloured mobiles, for transparent or light colours the EPODEX PRO system
- Mixing cup
- Stir stick
- Gram scale
- Metallic pigments according to colour preference
- Gloves
- Craft beads
- Wooden wreath
- Sisal rope
- Dremel with drill bit
- Nylon thread and needle
- Circular silicone moulds

Make your own mobile – this is how it works:
Preparation:
Have all the materials ready. Note that you should work at room temperature and that the humidity must not exceed 70%. All materials and tools should also be at room temperature.
Step 1: Put on the disposable gloves and mix our EPODEX ECO system according to the instructions in a ratio of 2:1. Stir well until no more streaks are visible.
Step 2: Pour the finished resin into e.g. 5 mixing cups.
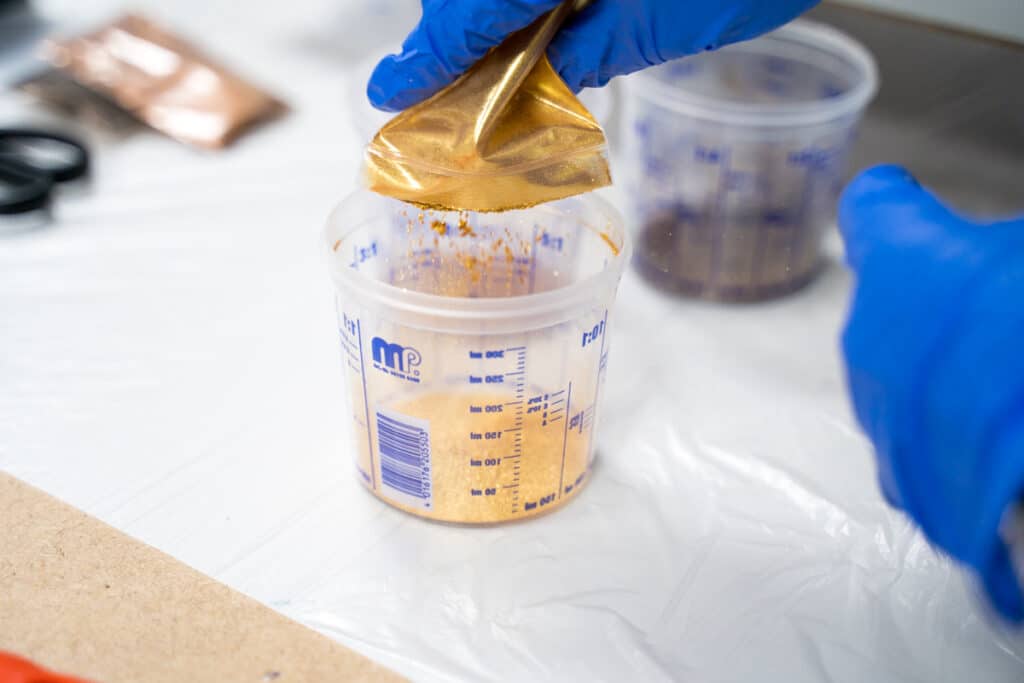
Stir the resin thoroughly again after repotting. In our example we used 5 cups and the metallic pigments Shimmer Gold, Havana Bronze, Intense Anthracite, Terra Orange and Flame Copper. You then mix these pigments into the finished resin until it is evenly distributed.
Step 3: Now pour the resin into the silicone moulds. If you want to embed objects, use clear resin.
Step 4: Now you can place the glitter particles, flowers or pigments in the resin according to your taste.
Step 5: After 24 hours the resin has cured and you can remove the pendant from the mould.
Step 6: Next you need to drill a small hole with the Dremel on the top and bottom of each pendant.
Step 7: Then you have to thread the nylon thread into a needle and connect beads alternately with the circles as you like until you have a chain out of different elements. This chain is sewn/tied to the wooden wreath. Proceed in the same way with the 2 other chains.
Step 8: Next, create a string of beads and sew this to the top of the wooden wreath, so keep threading through the ‘little branches’.
Step 9: Finally, you need to attach a piece of sisal ribbon to the top of the wreath, so that you get a suspension. Ready!


More than
1000000+
Satisfied customers
