Christmas is just around the corner and with it comes the time for gift-wrapping, crafts, spending time with friends & family and much more. With epoxy resin, you can hand make the most memorable creations for every taste. A very special gift that can be easily done. You can use these creations as ornaments on a tree or as a gift tag for a present.
This step-by-step guide will teach you how to make resin ornaments with EPODEX products.
What You Need
- EPODEX PRO System
- EPODEX Polish
- Nitrile Gloves
- Mixing Cups
- Stir Stick
- Kitchen Scale
- Hand Drill
- Jewellery Band
- Glitter or Stickers
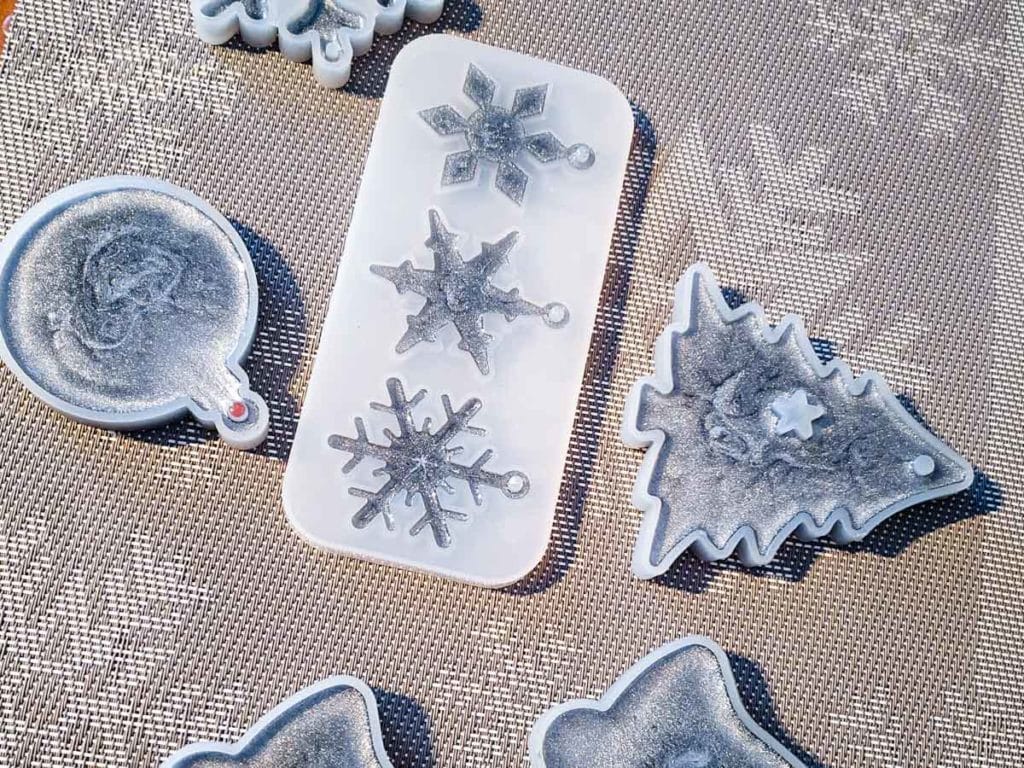
- Silicone Mould, e.g. Muffin Moulds or Christmas Shape Moulds
- EPODEX Drop-In Colour Pigments, if a coloured result is desired

How-To Guide
Preparation
Have all materials ready. Note that you should work at room temperature and the humidity should not exceed 70%. All materials and tools should also be at room temperature.
Step 1
Put on the disposable gloves and mix our EPODEX PRO System according to the instructions in a ratio of 2:1. Stir well until no more streaks are visible.
Step 2
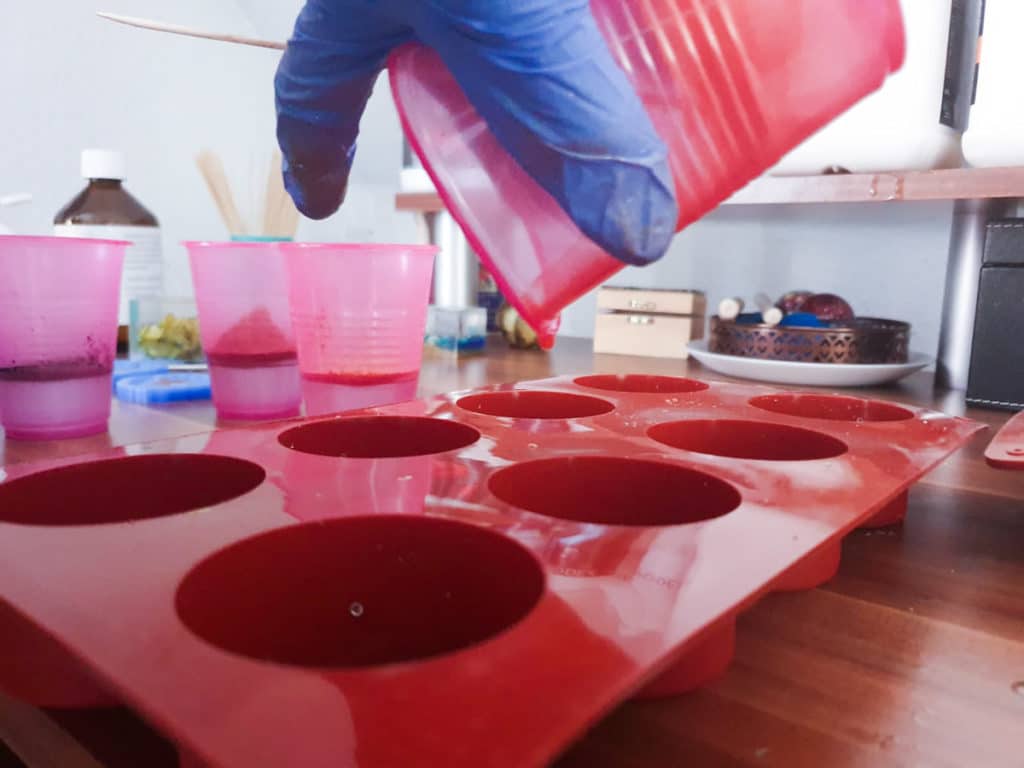
Pour the finished resin into a mixing cup. Stir the resin again thoroughly after repotting.
Step 3
Now pour a small amount of clear resin into the silicone mould. A pouring height of about 2mm is recommended. Wait about one hour and let the resin gel.
Step 4
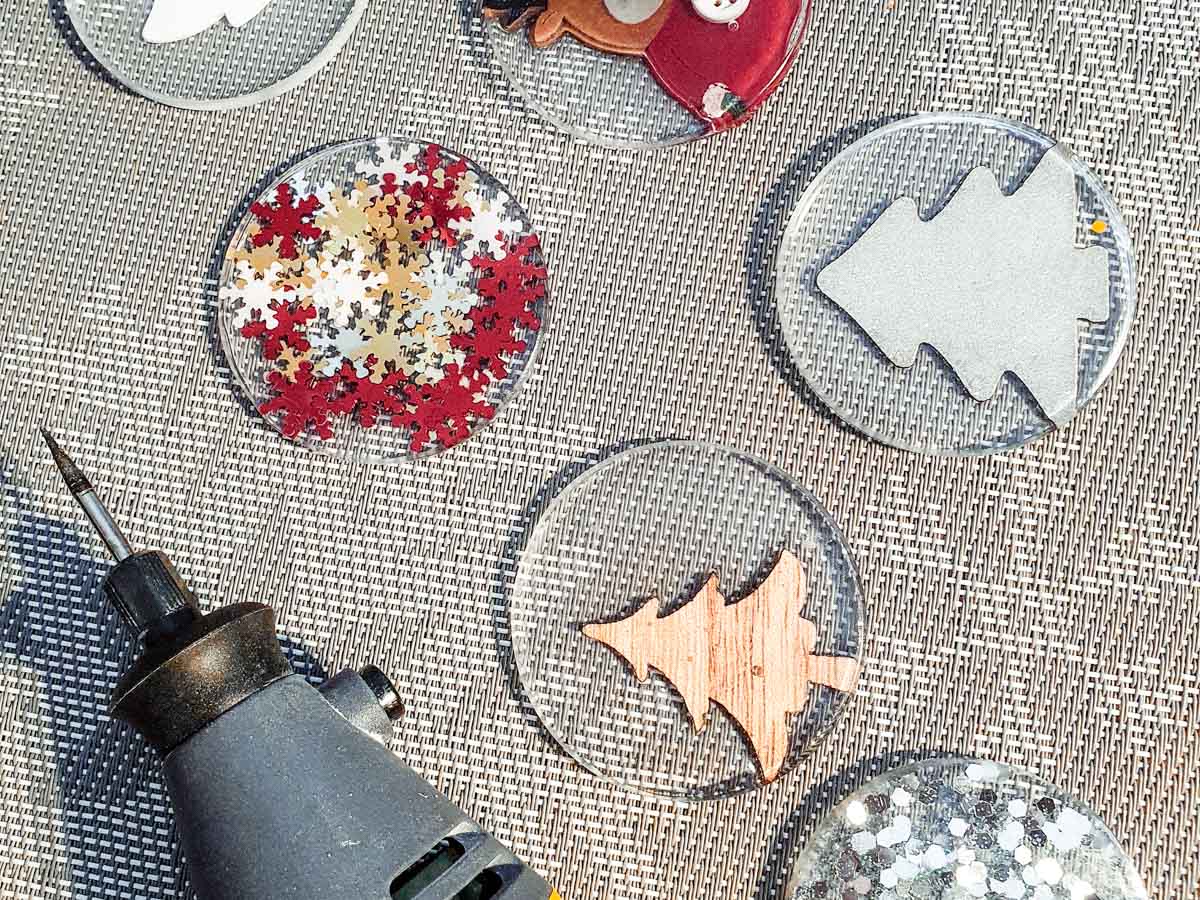
Now you can place the glitter particles, streudeko or pigments in the resin according to your taste. Wait another hour and then pour another thin layer of resin to seal the decoration.
Step 5
After 24 hours the resin has hardened and you can take the pendant out of the mould.
Step 6
If the silicone mould has left streaks, you can polish them away with EPODEX polishing paste and a microfibre cloth.
Step 7
Drill a hole in the casting with a hand drill and attach the pendant to it.


More than
1000000+
Satisfied customers
