Epoxy 3D Flooring
Epoxy 3D Floor
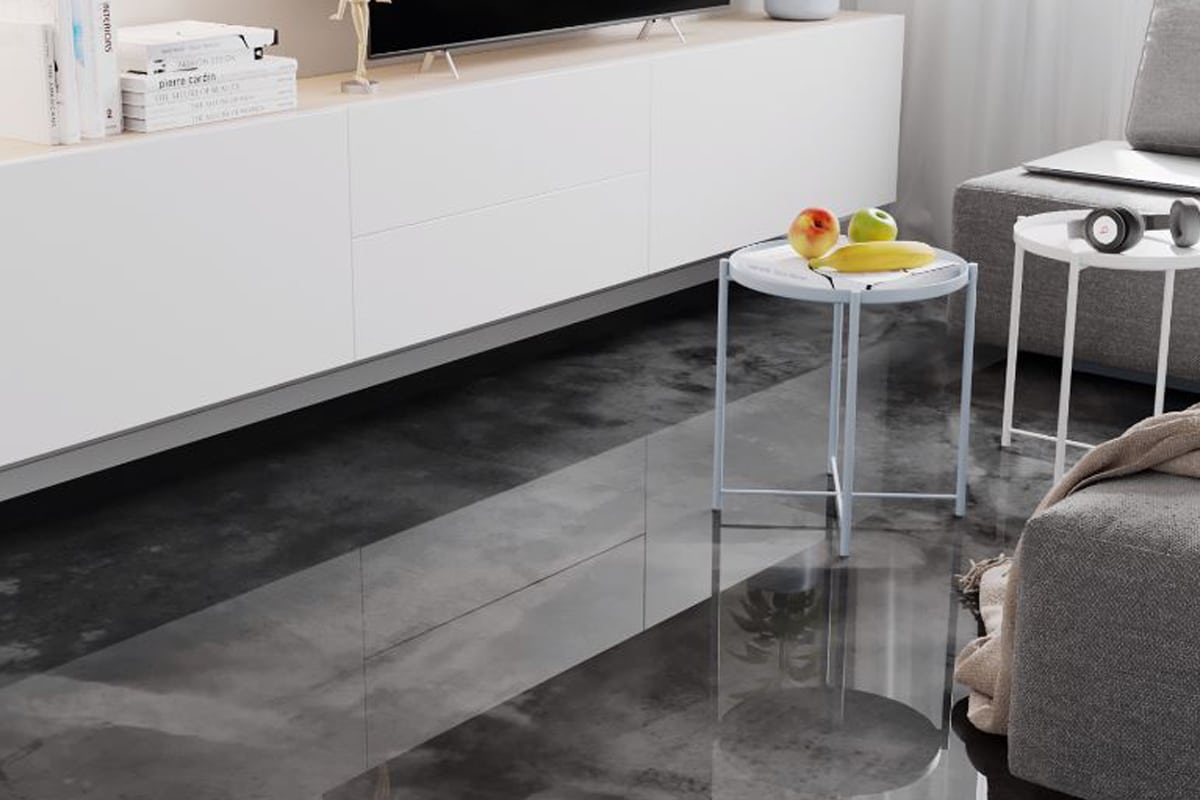
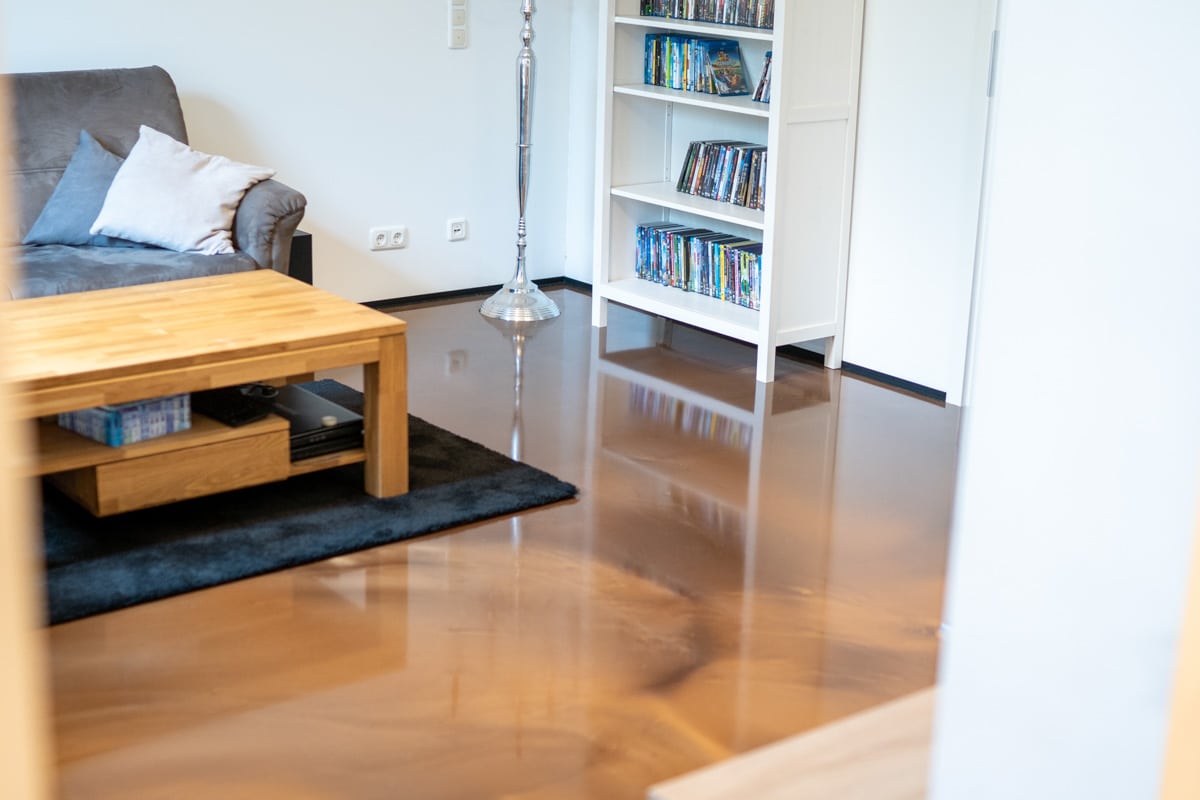
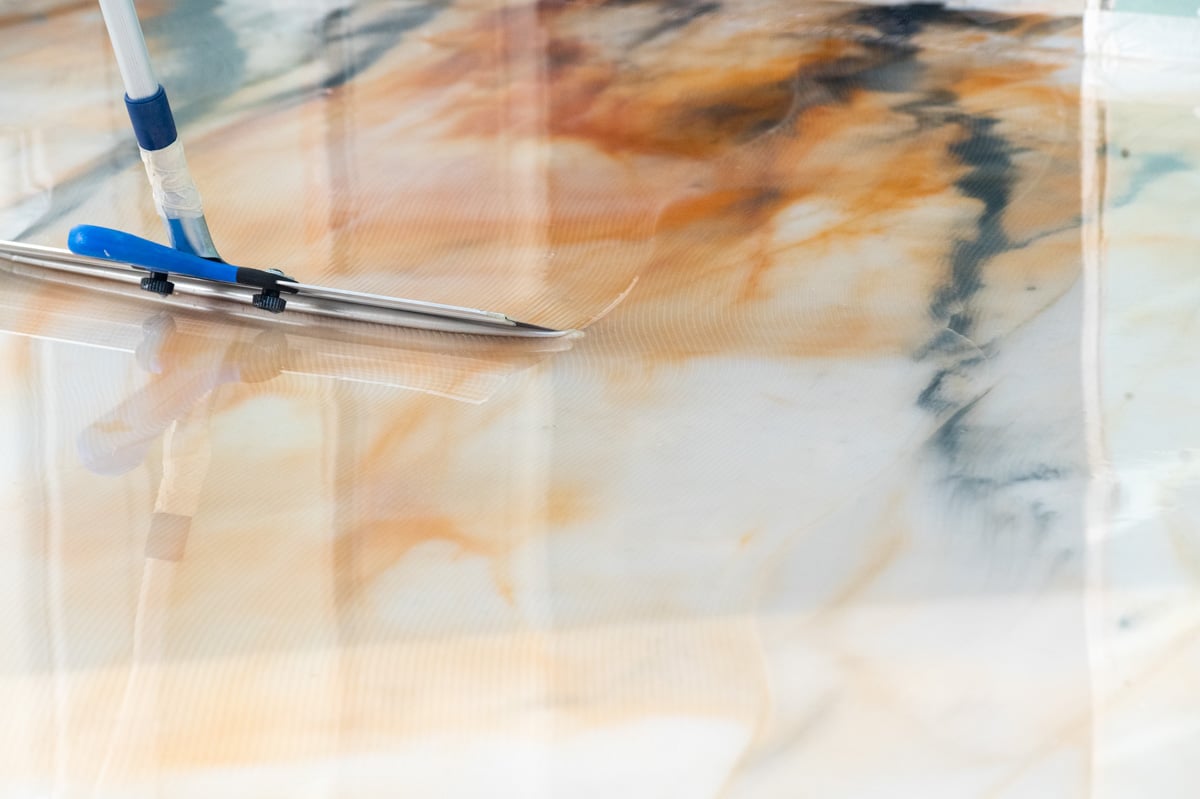
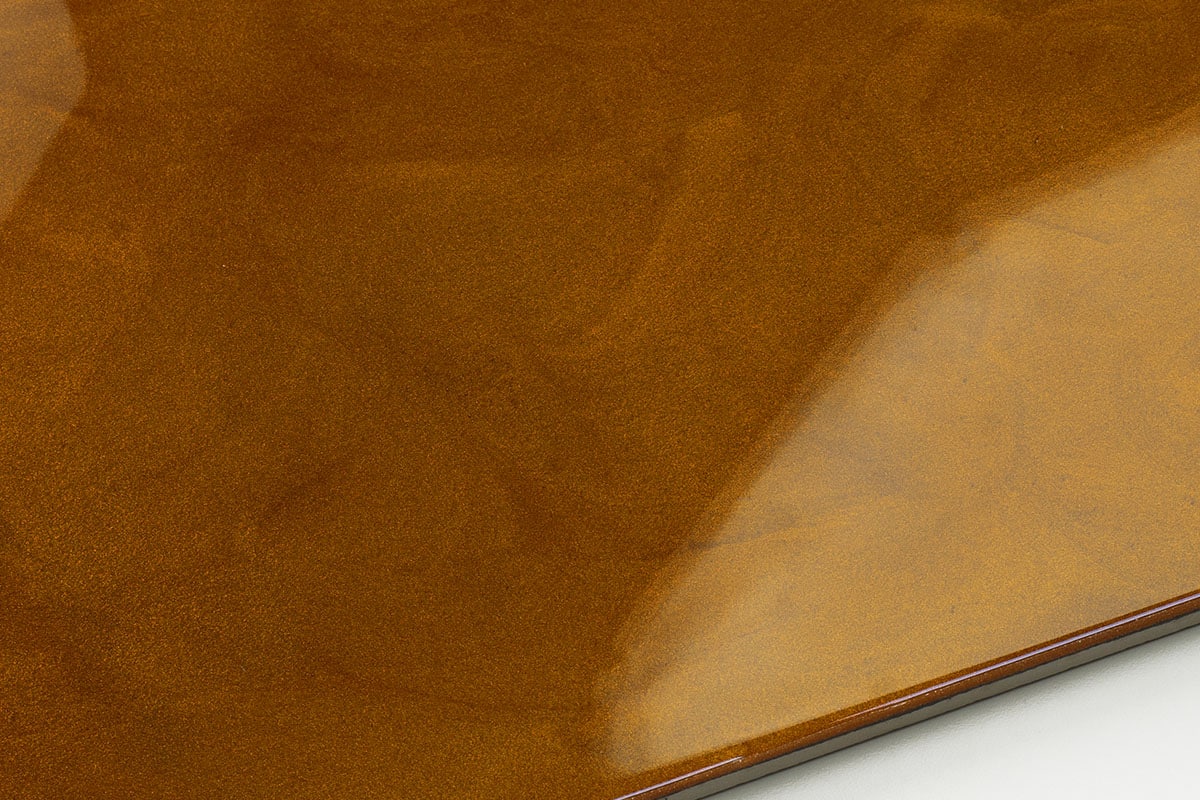
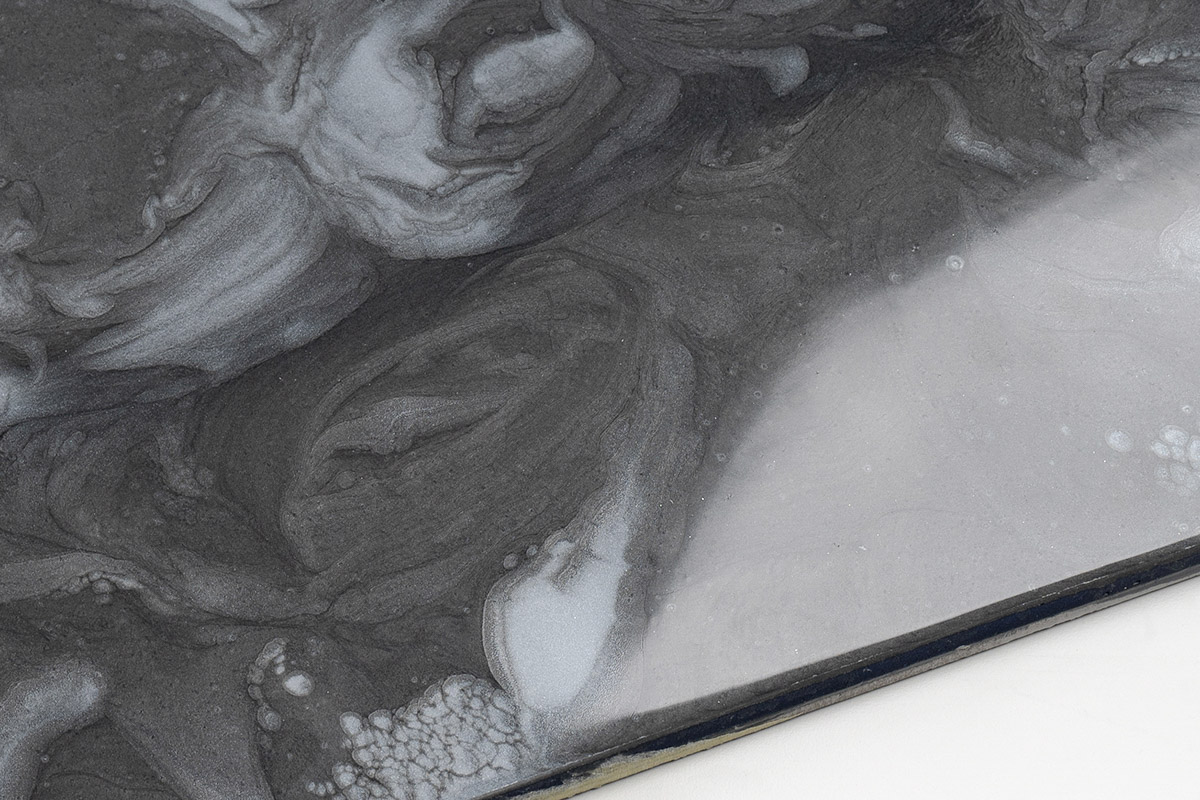
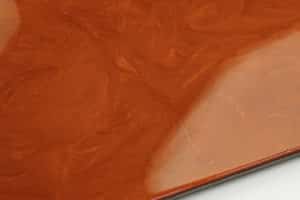
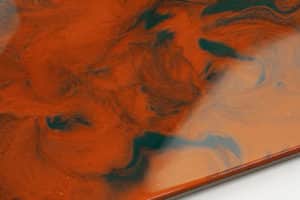
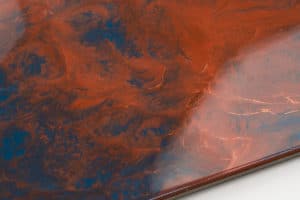
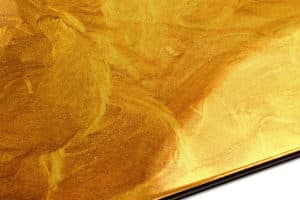
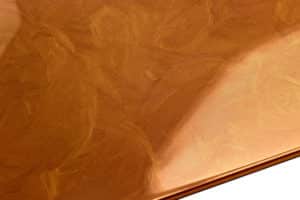
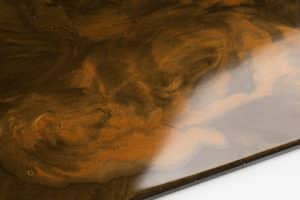
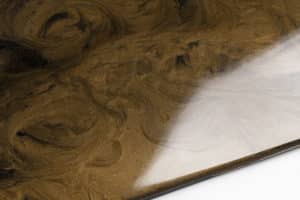
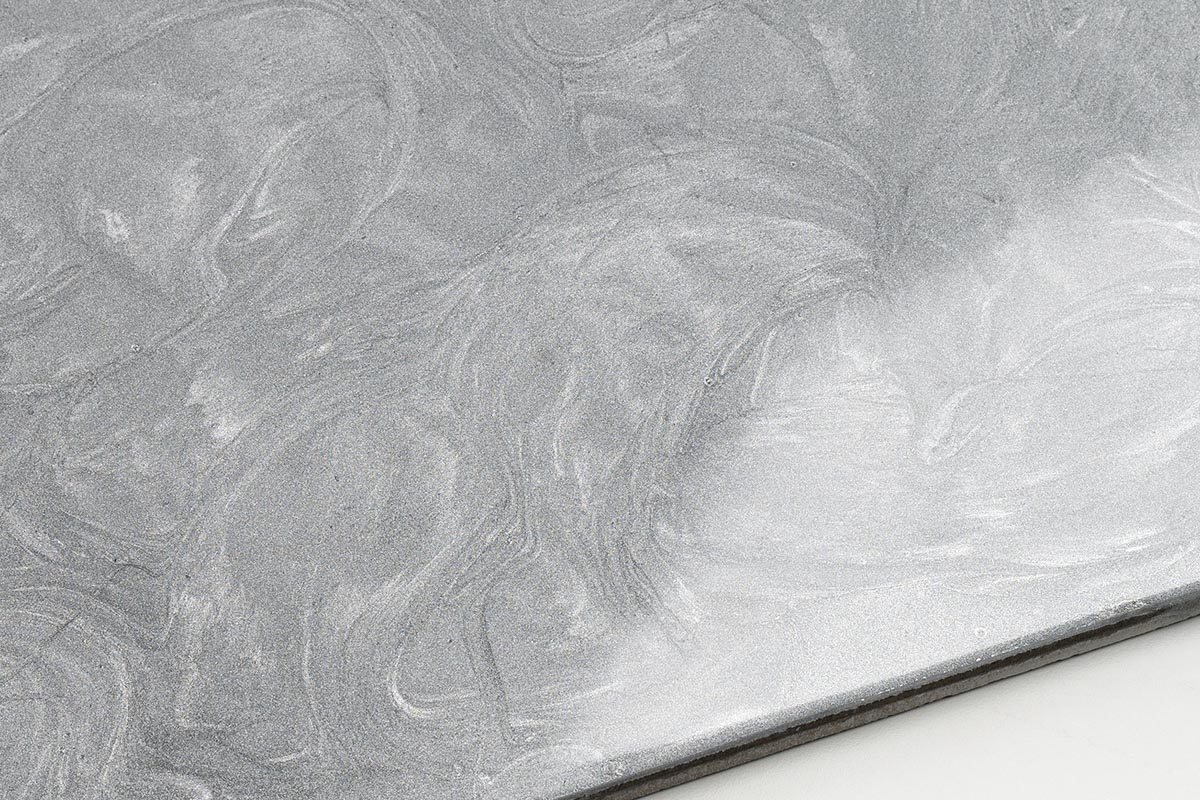
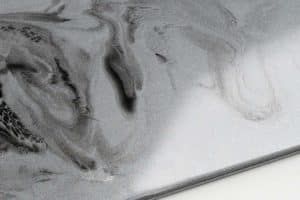
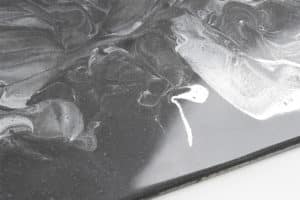
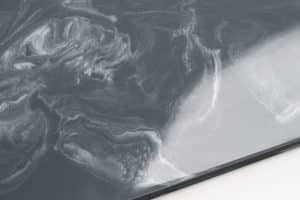
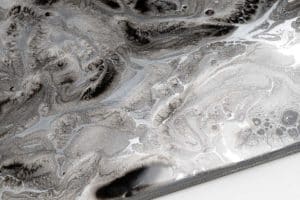
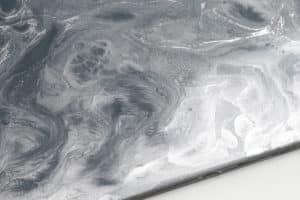
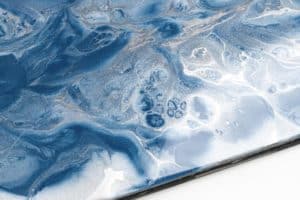
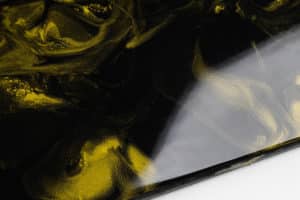
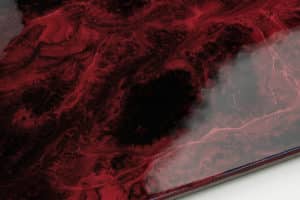
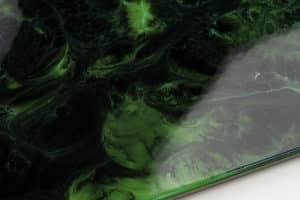
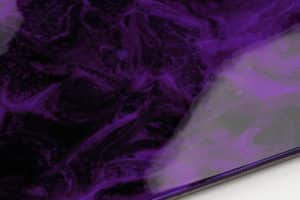
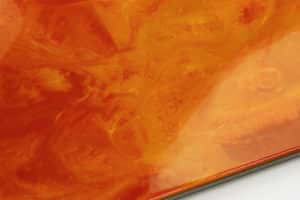
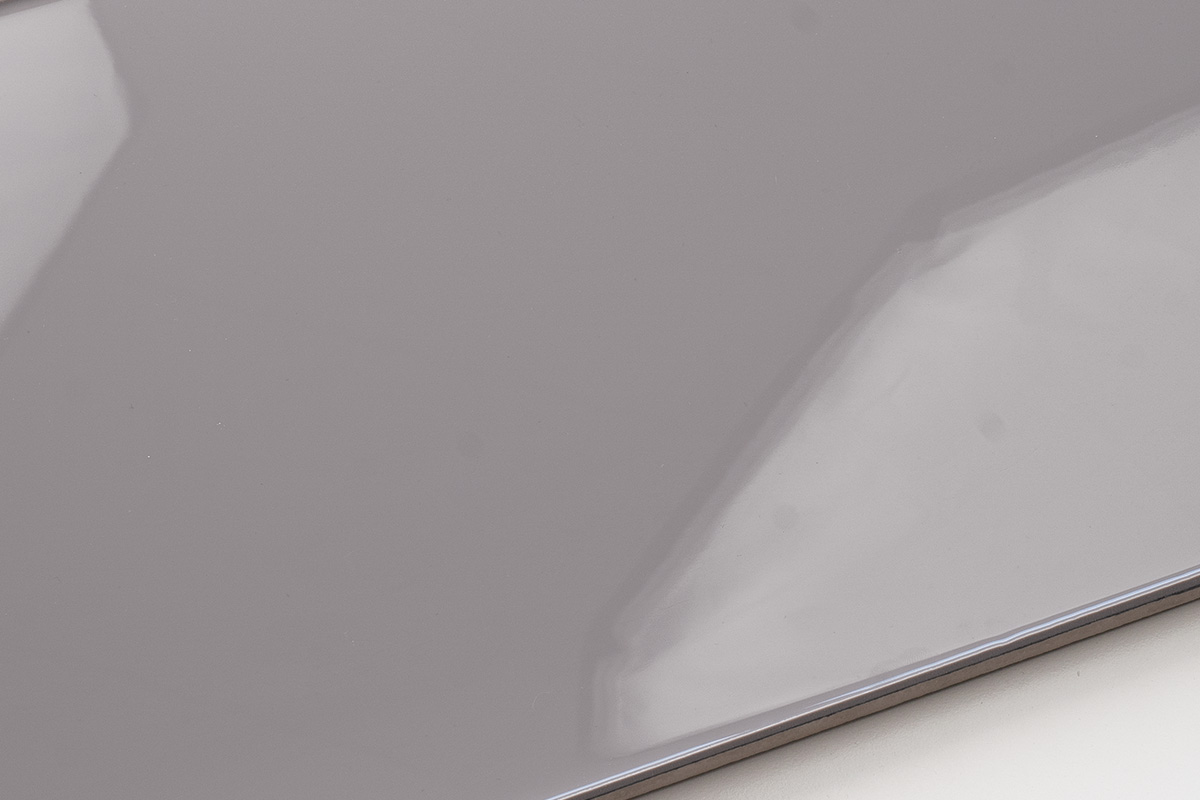
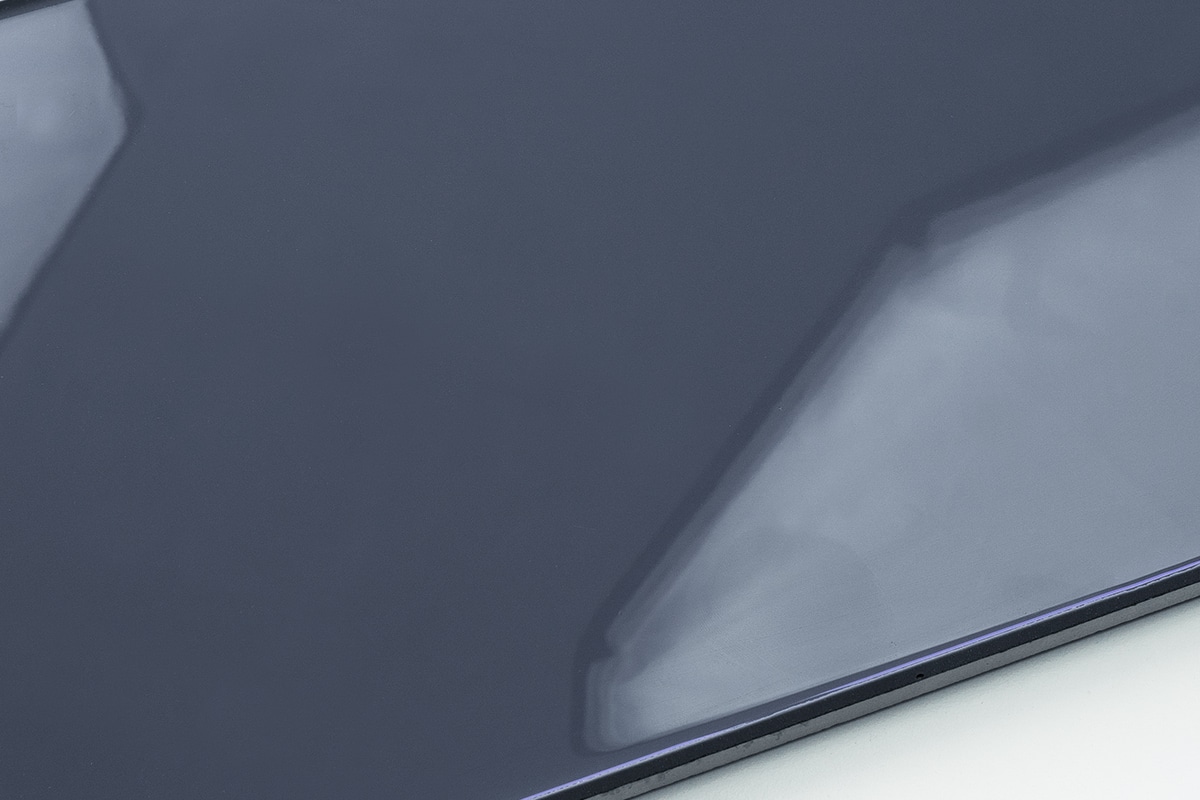
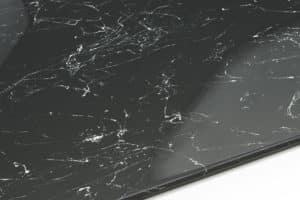
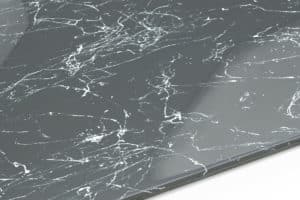
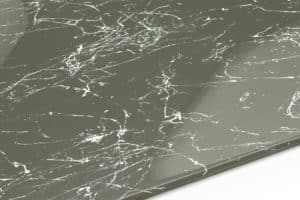
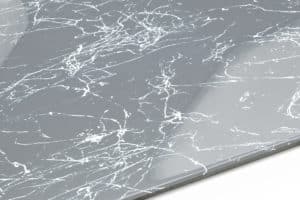
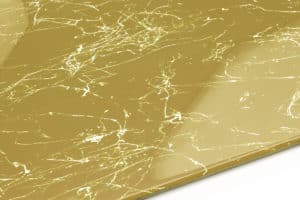
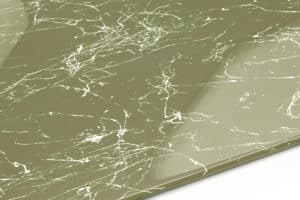
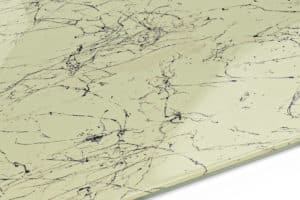
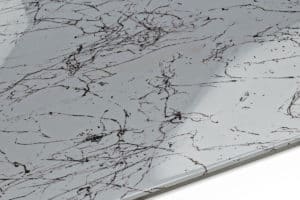
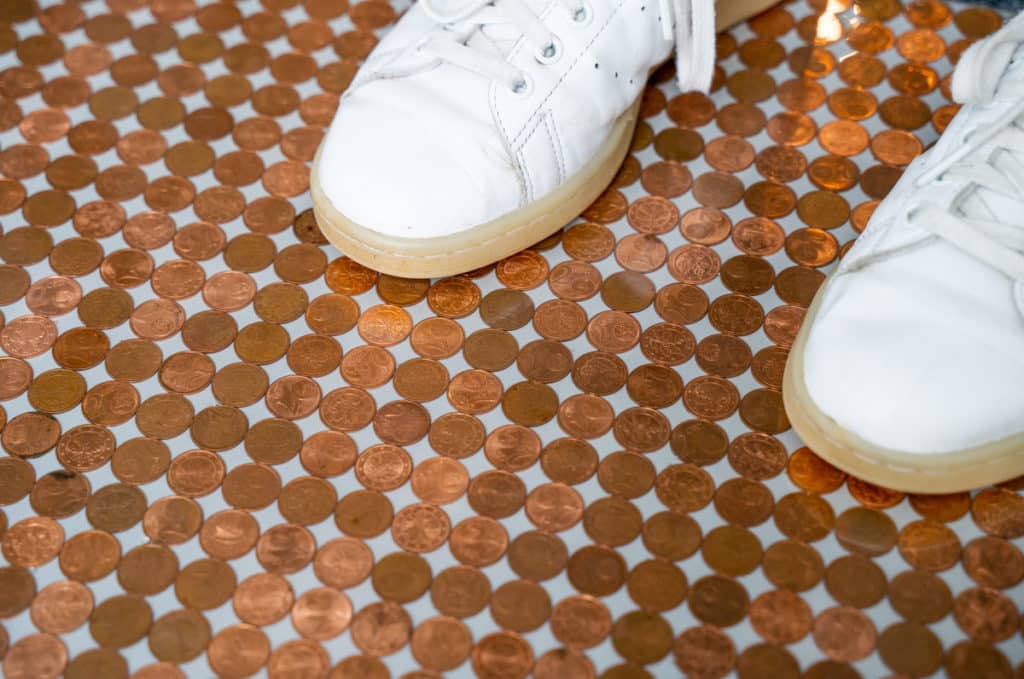
3D floors are flooring that is not optically one-dimensional like laminate or PVC, but three-dimensional. This 3D effect is achieved by embedding small objects or pictures in the floor coating. For example, you can use effect flakes, dried flowers, pictures, natural elements, or stones. Alternatively, you can cast special depth effects. When laying a 3D floor, there are no limits to your imagination – with EPODEX, anything is possible.
- Can be used on all surfaces such as concrete, screed, wood and more
- Layer thickness: approx. 0,4-1,5mm
- Working time: approx. 120min.
- Curing time: approx. 24h
- Application instructions can be found on this product page
3D Floor Made of Epoxy Resin
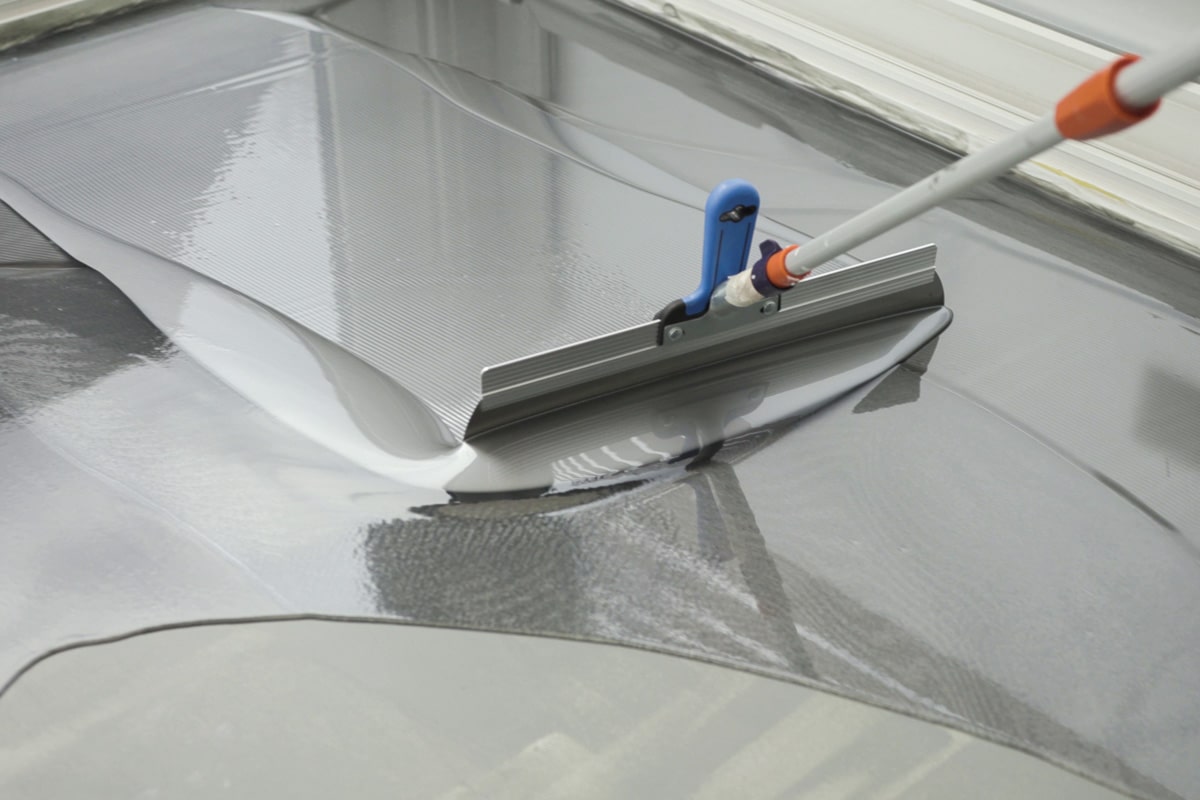
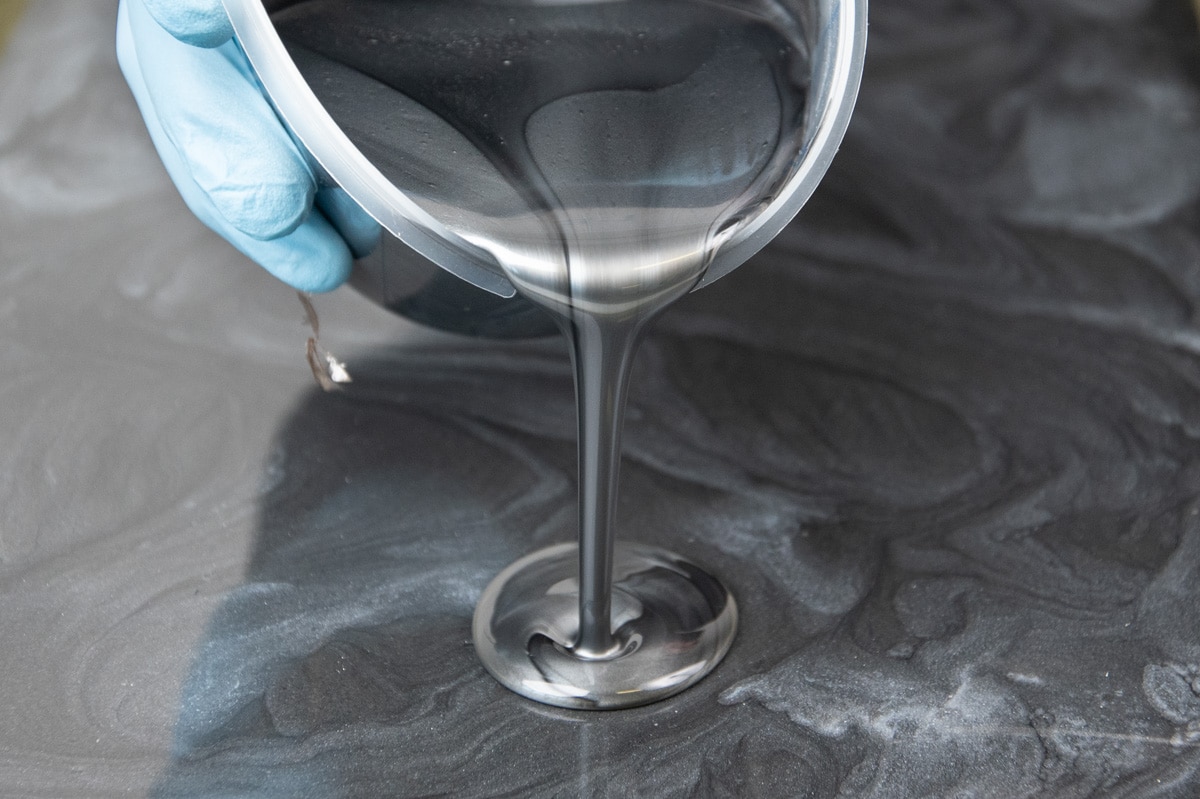
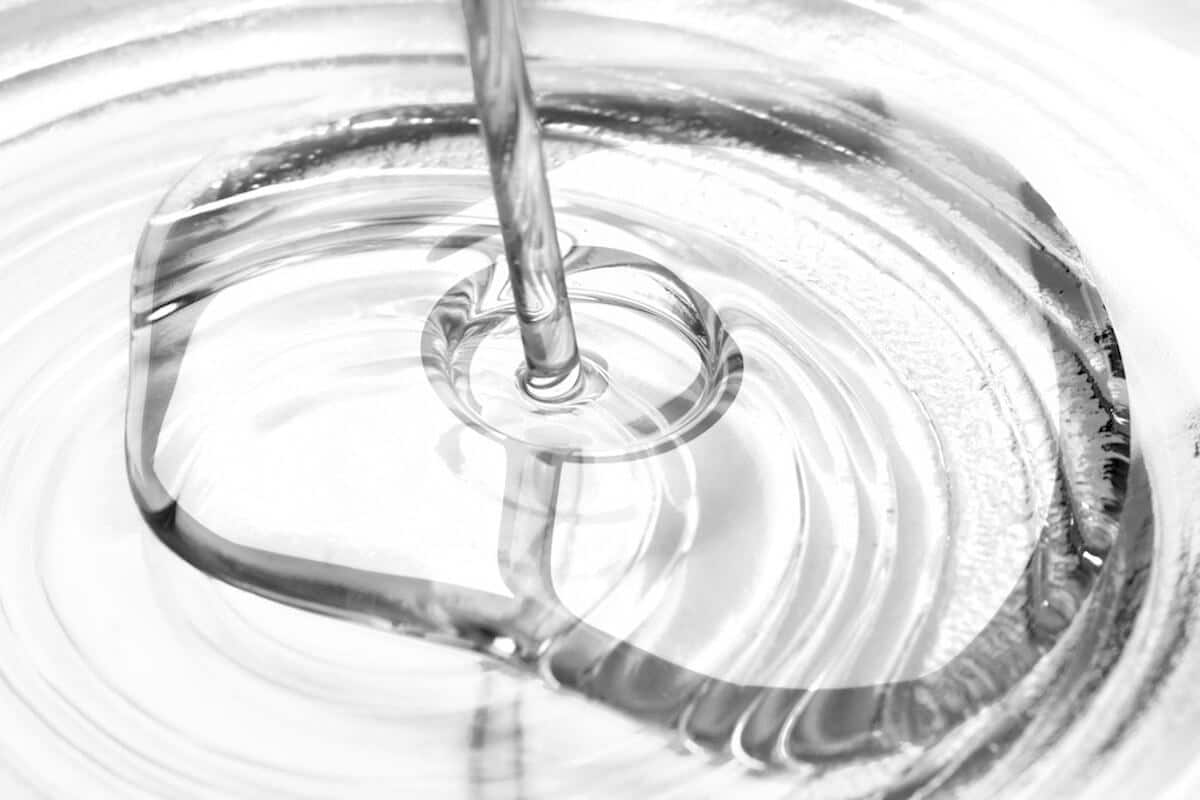
If you want to install a 3D floor, high-quality casting resin-like EPODEX PRO is the best choice. You can easily embed small elements in our casting resin. Because it is self-levelling, you always get a perfectly even floor.
Furthermore, it is scratch-resistant and UV-stabilised. As a primer for your epoxy 3D flooring, we recommend our EP PRIMER. To find out, how much epoxy resin you need for your individual 3D floor, you can use our epoxy resin calculator. To see our colour range, please visit our Dyes & Pigments tab for epoxy resin.
Laying an Epoxy 3D Flooring
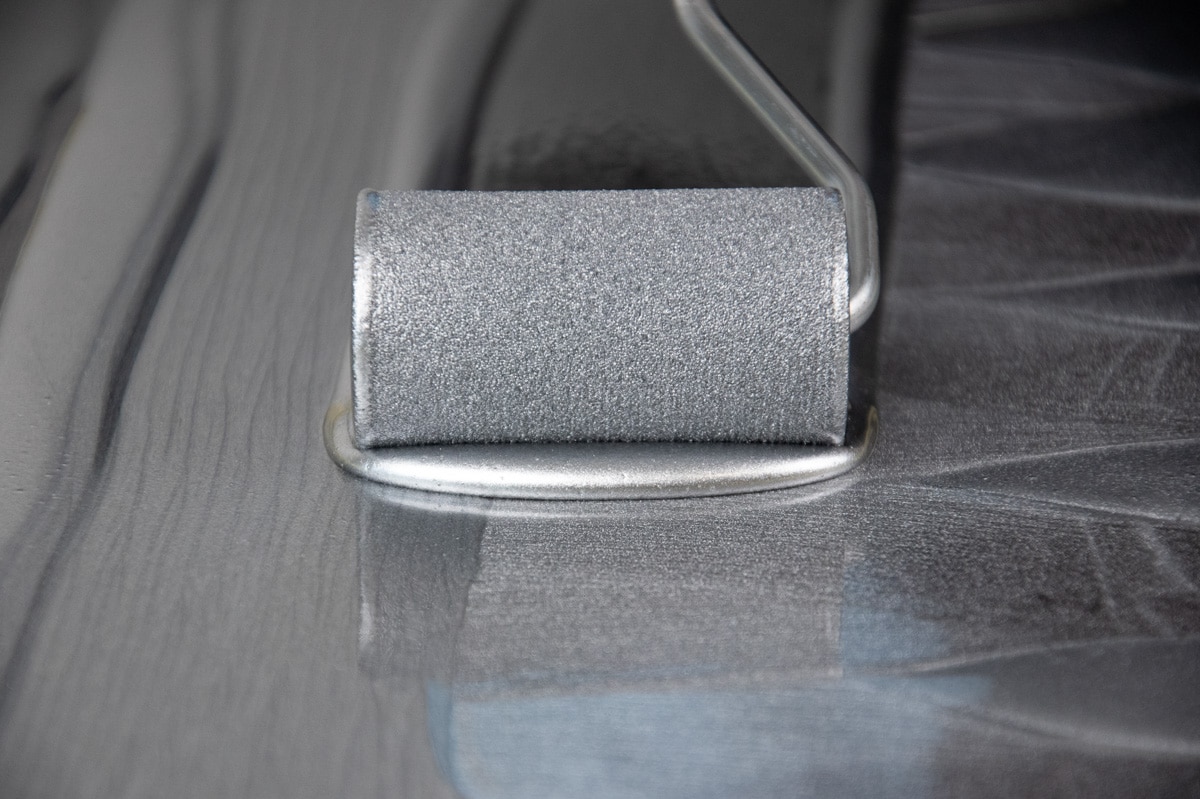
Basically, laying 3D floors works just like any other floor coating. The main difference is that you embed objects between the layers. Before you start, you should clean the floor and repair any cracks or holes with epoxy putty, for example. Always wear nail soles, a breathing mask, and gloves.
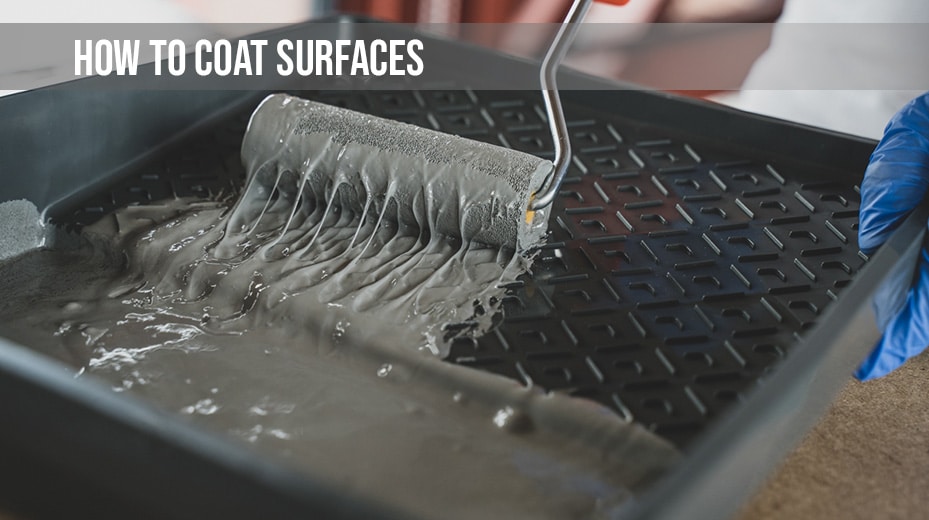
First, use an EP primer such as our EPODEX PRIMER. Allow the primer coat to dry completely before proceeding. The next step is to pour a casting resin system that will self-level and act as a support layer for the objects. Next, pour a layer of the self-levelling epoxy resin that will serve as a support for ou embeds. Make sure that you add the objects only after the resin has gelled a while. Otherwise, they may sink and thus ruin the desired 3D effect. When the resin has reached the right viscosity, you can embed the objects, seal them with a very thin resin layer and wait until it has cured completely. You can pour a final layer of casting resin. Allow the floor to cure according to instructions. Do not walk on or load the floor again until the curing time has elapsed.

More than
1000000+
Satisfied customers
3D Flooring in Your Bathroom
For a 3D floor coating in the bathroom or other rooms with high humidity, we recommend using our EPODEX PRIMER as a base. You can also use EPODEX ECO or PRO-only because once the resin has cured, it is resistant to moisture. Please note that the uncured resin is very sensitive to moisture and water, it is important to protect it until complete chemical curing. Use our quantity calculator on the product page to find out exactly how much resin you need for the area of the room. Design your 3D floor in the bathroom now and fulfil your dream of individual flooring.

