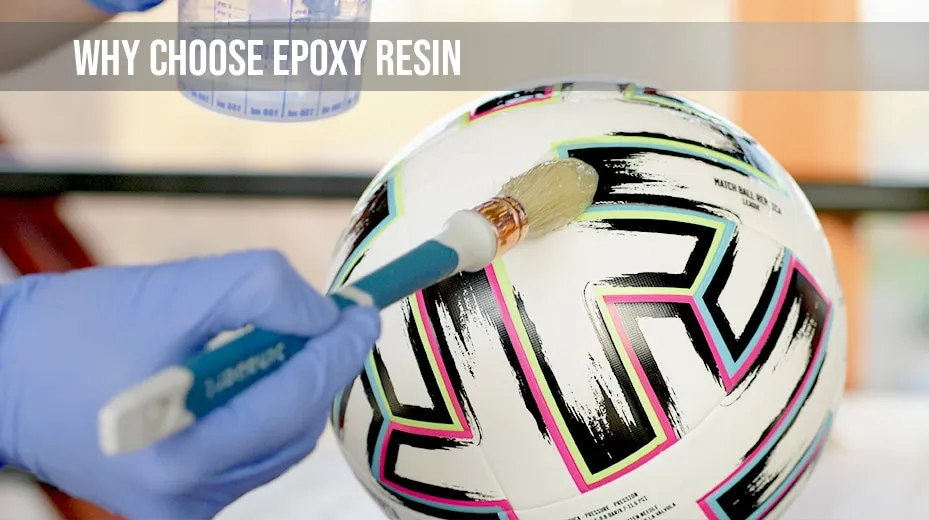
Create your own epoxy resin decorations
It is no wonder that epoxy resin decorations are becoming increasingly popular. That polyvalent synthetic resin allows you to make personalised decorative objects to match your taste. No matter, whether you are just starting and planning a small project or you are an expert and want to make some fancy and elaborate accessories: It is all possible with epoxy resin. EPODEX has the perfect resin for every application.
Transform everyday objects into decorative works of art with our high-quality epoxy!
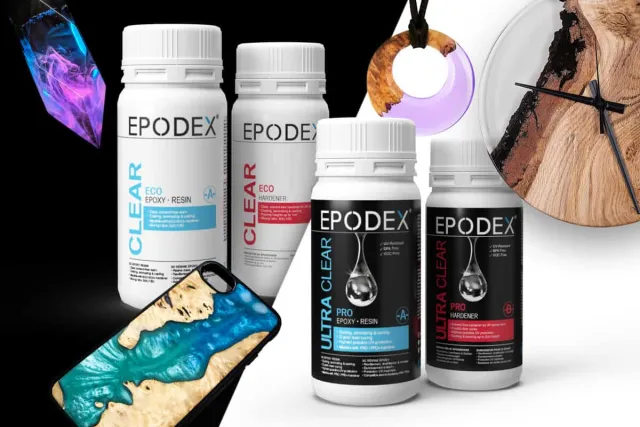
Resin art (Art Resin), doming, jewellery, coasters, small moulds, castings, etc.
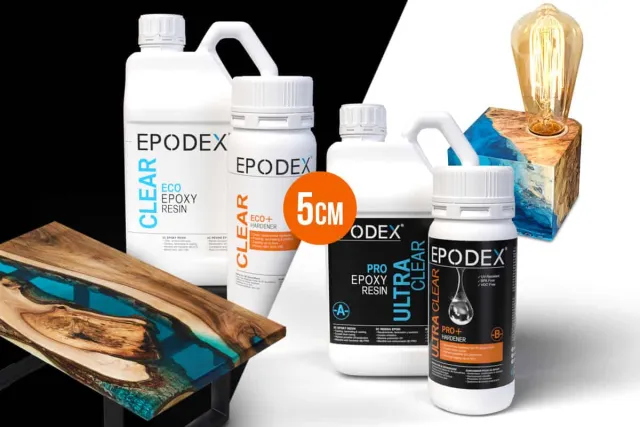
River tables, lamps, projects with high moulded and cast parts, etc.
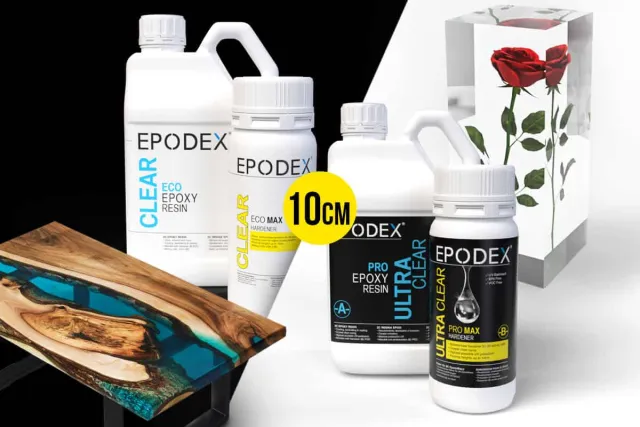
River tables, lamps, projects with very high mouldings and castings, etc.

STEVE SMITH
Any questions? I am glad to help!
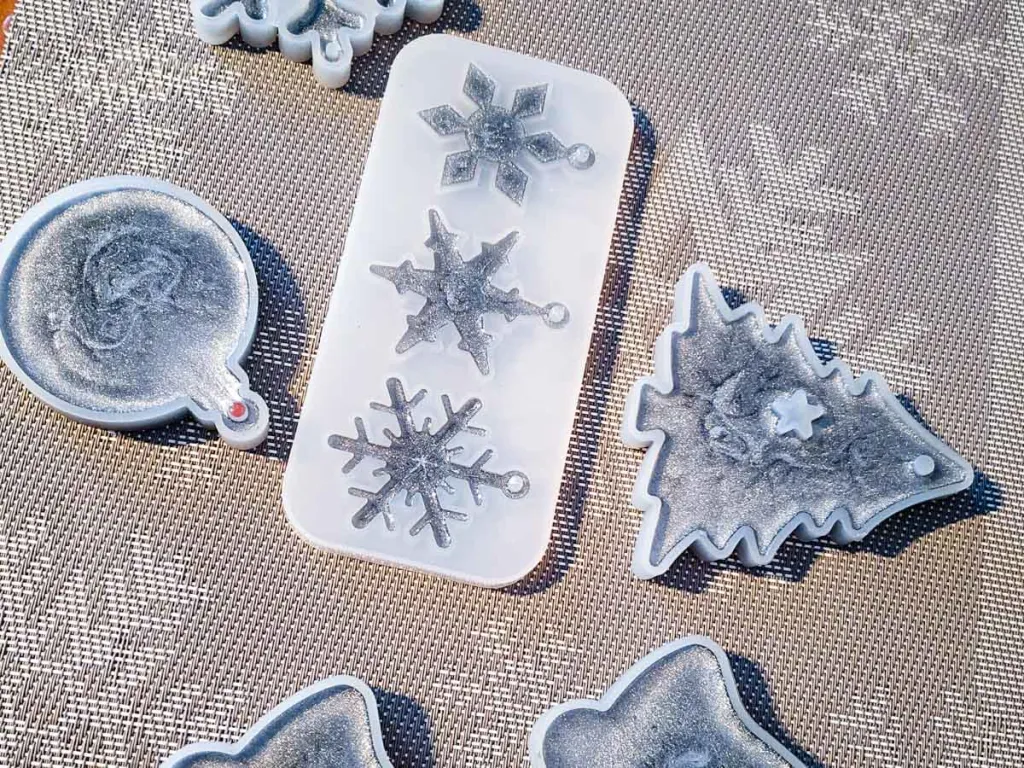
Self-made resin coasters
Making your own epoxy resin coasters is a great project for beginners. They are well suited to familiarise yourself with the material. Since it involves a low pouring height, the best choice for transparent coasters is the EPODEX PRO system. If you want to make coloured coasters, you could also use our cost-effective ECO system. The main difference between the two is that the transparent PRO resin does not yellow and is more UV-stabilised. On the other hand, the curing time of the ECO System is somewhat shorter. To make coasters, you will need a mould, for example, a purchased or self-made silicone mould. If you want to make a plain, round coaster, you could also simply use the bottom of a plastic cup as a mould. Start by mixing the resin and hardener in a mixing cup. Then, add the desired pigments, drop-in colours, dried flowers or flakes into the resin-hardener mixture. As an alternative, you can also pour the crystal clear resin into the mould first and then add small highlights. Allow the coasters to cure completely in the mould before unmolding.

Epoxy resin decoration - Embedding objects
The special thing about epoxy resin is that you can seal and pour decorative elements or memorabilia with it. It is important that you only use completely dry objects, as wet or moist objects may have a negative influence on the curing of the resin and thus on the result. All objects made of plastic, stone, metal, glass or wood are suitable for epoxy resin decorations. Other natural materials like flowers or tree bark are only suitable if they do not contain any moisture. Please note, however, those very filigree elements are sensitive and can break or crack during the curing process. If you want to embed elements in resin, it would be best to use EPODEX PRO+. This premium resin allows pouring heights up to 5cm at once and crystal clear curing.
To embed objects into resin properly, you need a mould, the object to be embedded, a mixing cup, a gram scale and a stir stick. While embedding large objects, it is important to work step by step and not to mix everything at once. Always mix only as much resin with hardener as you need for one pour. Use the gram scale to determine the exact mixing ratio and mix the two components in a mixing cup. Put the first layer into the mould and let the resin cure until it is firm and gel. When the resin has become a little more viscous and solid but has not yet fully cured, you can place the object in. If necessary, you should fix the object additionally at the upper end so that it does not sink. Then, gradually add more resin, taking into account the curing time of the layers, and do not remove the casting from the mould until it is fully cured. Depending on the size and resin system, this can take up to a week.